Bird photography is challenging, especially if you don’t know how to set up your camera for the right situations. I have taken over 100, 000 bird photos over the last 9 years and during that time, I have learned the best shutter speed for bird photography in many different circumstances. I will reveal my secrets here in this article so you too can finally master your camera and get bird photos you can be proud of.
The best shutter speed for bird photography is between 1/1250 and 1/4000 sec. Shutter speeds in this range are fast enough to freeze motion while still producing good exposure. These settings will not work in every situation and you need to learn when to adjust them and your other camera settings.
So many factors determine what shutter speed you ultimately need for a good bird image. In the remainder of this article, I will explore the best shutter speeds for different types of bird photography and offer tips for getting the best possible shots.
The Best Shutter Speed For Bird Photography
When it comes to shutter speed, the general rule of thumb is to use a speed that is at least as fast as the focal length of the lens. For example, if you’re using a 300mm lens, you’ll want to use a shutter speed of at least 1/300th of a second. This helps to avoid camera shake and motion blur, which can result in blurry and unusable photos. However, this rule does not work for bird photography as birds are often moving about quite quickly.
Bird Photography Shutter Speed Table
Using the table below, you should be able to decide on a shutter speed that will get you a good photo most of the time. Pay attention to the lighting situation at the time of taking your image and know that you will have to adjust your camera settings accordingly.
| BIRD ACTIVITY | LIGHT | SHUTTER SPEED |
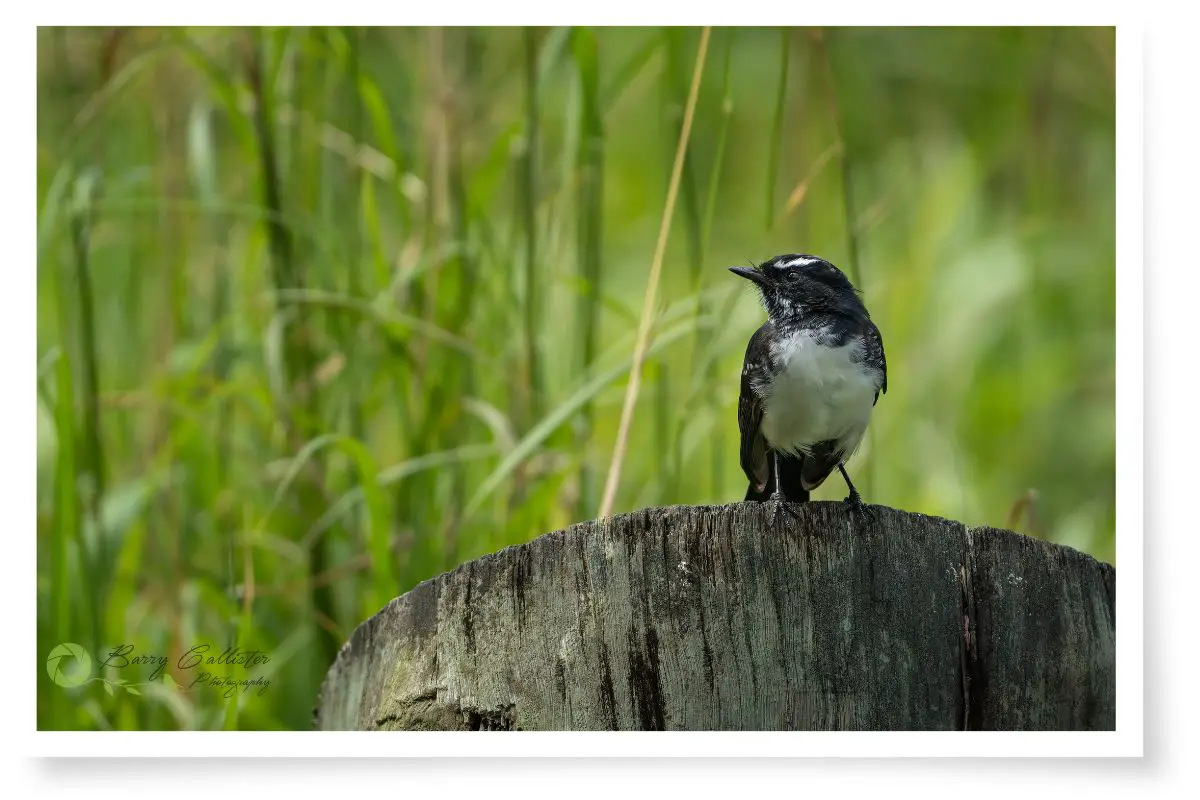
| Perched or sitting still | Bright sunlight | 1/250th sec or faster |
| Overcast/ Shade | 1/250th sec or faster (raise ISO and/or use a wider aperture) | |
| Preening | Bright sunlight | 1/1250th sec or faster |
| Overcast/ Shade | 1/1250th sec or faster (raise ISO and/or use a wider aperture) | |
| Foraging/ Swimming/ Walking slowly | Bright Sunlight | 1/1250th sec or faster |
| Overcast/ Shade | 1/1250th sec or faster (raise ISO and/or use a wider aperture) | |
| Jumping about | Bright Sunlight | 1/2500th sec or faster |
| Overcast/ Shade | 1/2500th sec or faster (raise ISO and/or use a wider aperture) | |
| Gliding | Bright Sunlight | 1/1600th sec or faster |
| Overcast/ Shade | 1/1600th sec or faster (raise ISO and/or use a wider aperture) | |
| Flying (flapping wings slowly) | Bright Sunlight | 1/2500th sec or faster |
| Overcast/ Shade | 1/2500th sec or faster (raise ISO and/or use a wider aperture) | |
| Flying (flapping wings quickly) | Bright Sunlight | 1/3200th sec or faster |
| Overcast/ Shade | 1/3200th sec or faster (raise ISO and/or use a wider aperture) | |
| Fighting | Bright Sunlight | 1/3200th sec or faster |
| Overcast/ Shade | 1/3200th sec or faster (raise ISO and/or use a wider aperture) |
You will notice that I suggest you change your ISO and/or aperture in overcast or shady conditions. This is because you will need to boost the amount of light getting to your camera’s sensor in order to get a good exposure.
You will also find that when shooting in bright sunlight with faster shutter speeds, you will also have to adjust the ISO and/or aperture. Just keep an eye on your camera’s exposure meter.
You may find that you can get away with using shutter speeds much slower than 1/250 sec in some circumstances. Modern cameras and lenses have image stabilization that can help you get great photos with ridiculously slow shutter speeds.
Get my tips and recommendations for bird photography camera gear in this article.
Shutter Speed for Birds in Flight
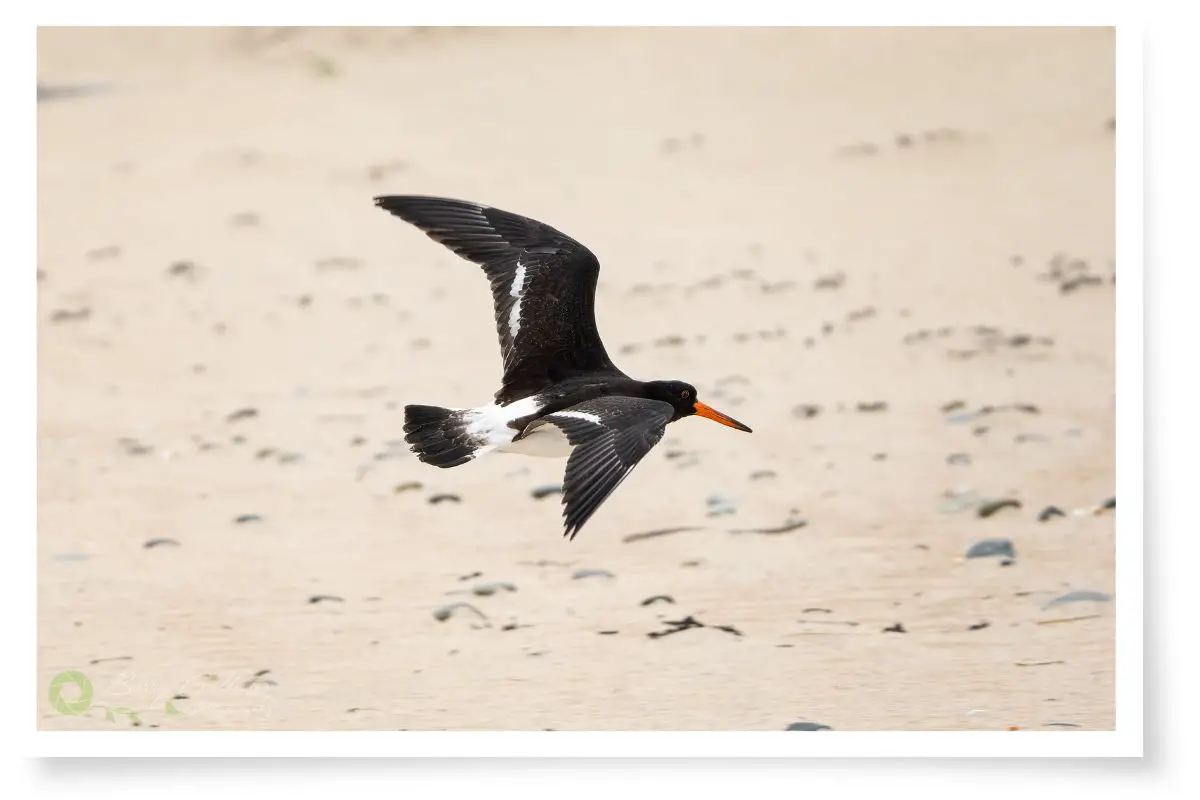
Capturing birds in flight can be a challenging but rewarding aspect of bird photography. As you learned from the table above, freezing the motion of a flying bird requires faster shutter speeds.
I recommend shutter speeds of 1/1600 sec and above for flying birds. This applies if you want to freeze the motion completely; if you want to get some motion blur in your images, you will have to use slower shutter speeds.
For example, to achieve a shot such as the one below, you can use a shutter speed of around 1/400 sec or slower and track the bird’s movement with your lens as it flies past. This blurs the bird’s wings and the background, giving the illusion of movement.
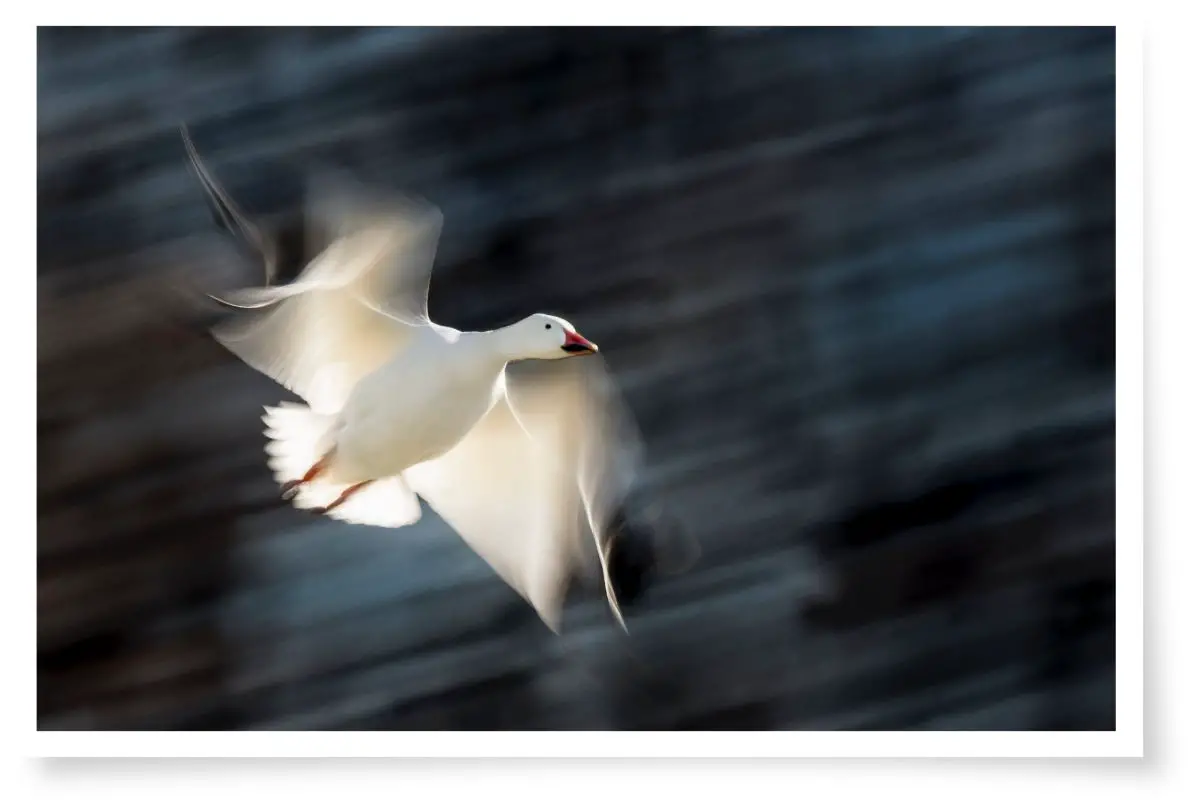
The best way to find the correct shutter speed for bird photography is to experiment. Get out there, take a whole lot of images of flying birds, and notice which settings give you the result you’re after.
How to Take The Sharpest Bird Pictures
Getting sharp bird photos requires experimentation and paying attention to what settings achieve the best results. Here are some tips for taking the sharpest bird pictures possible:
- Use a tripod: A sturdy tripod can help to eliminate camera shake and produce sharper photos, especially when using slower shutter speeds. However, a tripod does limit the way you can move the camera and some bird photographers (myself included) prefer not to use them.
- Choose the right focus mode: For stationary birds, using single autofocus mode and selecting the bird’s eye as the focal point can help to ensure sharp focus. For birds in motion, using continuous autofocus mode can help to keep the bird in focus as it moves. Read this article here on my site for tips on which autofocus mode to use.
- Watch the background: A distracting background can detract from the sharpness of a bird photo. Look for a clean and uncluttered background to help the bird stand out.
- Shoot in good light: Good light is key to sharp bird photos. Shooting in the early morning or late afternoon, when the light is soft and warm, can help to produce sharper and more vibrant photos. For birds in flight, you will get sharper images in brighter conditions.
- Use the widest aperture possible: Doing this will ensure that you can use faster shutter speeds, therefore increasing the chances of getting a sharper photo. Some lenses, especially inexpensive ones, can produce softer images at wider apertures so do be careful of this. Also, there are some instances where a wide aperture will not work, such as photographing a large flock of birds. For these situations, you will need a smaller aperture to make sure you get a deeper depth of field (more of the image in focus).
Conclusion
Choosing the right shutter speed for bird photography is essential for capturing sharp and clear photos. By understanding the relationship between shutter speed and aperture, and by using the right camera settings for different shooting scenarios, you can take stunning photos of birds in flight and at rest. Remember to pay attention to detail and to use a tripod (if you want to) and the right focus mode to achieve the sharpest possible photos. With practice and patience, you can take your bird photography to the next level.