How To Identify A Bird Introduction
There are around 10,000 different bird species on the planet. In addition to this, it is estimated that every year, 5 new bird species are discovered as we expand our biological exploration of the more remote parts of the world. How is it possible then to identify a single bird amongst all these thousands of birds?
This article is going to help you with a simple 10-step system that you can use to identify any bird. We are also going to explore some tools that can help you to make sure you’re identification is accurate.
You will only need one of two things to record information about any birds you see: 1). Your smartphone 2). A notepad and a pen or pencil.
- How To Identify A Bird Introduction
- 1. Remember Where You Saw The Bird
- 2. Remember When You Saw The Bird?
- 3. Identify The Color Of The Bird
- 4. Compare The Size Of The Bird
- 5. Identify What The Bird Was Doing
- 6. Notice If The Bird Was Alone
- 7. Listen To The Sound The Bird Makes
- 8. Take A Photo Of The Bird
- 9. Learn Bird Body Parts
- 10. If The Bird Was Flying, Notice How The Bird Was Flying
- Tools To Help Identify Birds
- Bird Guide Books
- Summary
1. Remember Where You Saw The Bird
Step number one is to remember where you were when you saw the bird. Why is this important? It is important because different bird species like different places and habitats.

You don’t have to grab out your smartphone and decipher your exact geographical location via GPS (though this might help?!). Just make a note of where you were at the time:
- Country
- State
- Town/city
- Habitat (beach, fields, mountains, forest, etc)
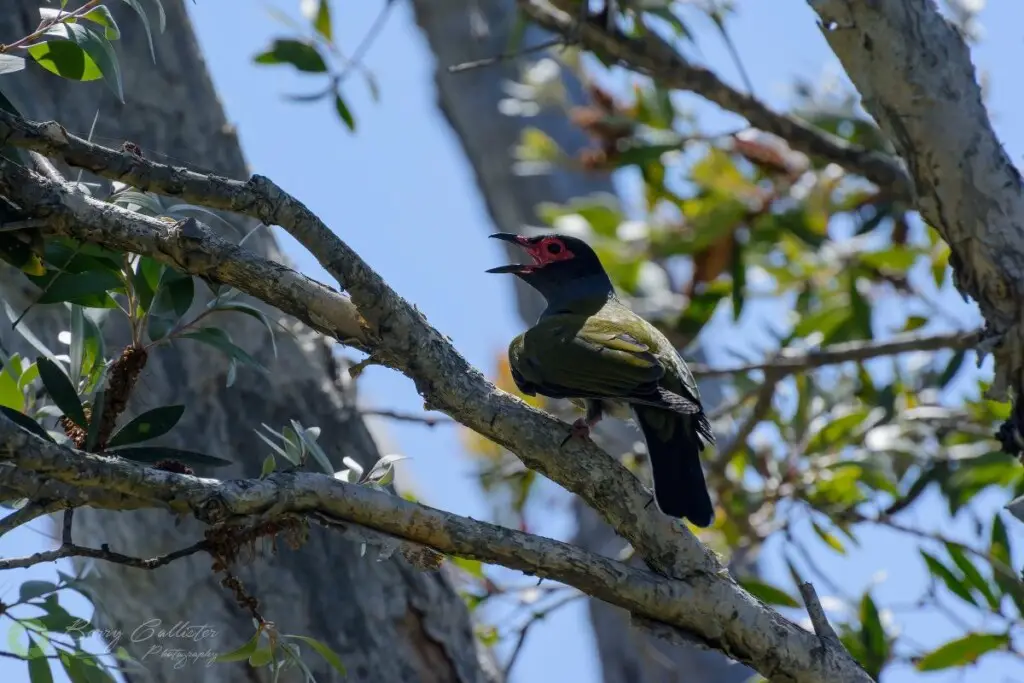
For example, what would we want to remember if we saw a bird in the location in the image below?

The above photo was taken in Urunga in New South Wales, Australia. To record location information about a bird we saw here, we would write down or enter into a phone the following:
- Australia
- New South Wales
- Urunga
- Wetlands/lagoon
This would be sufficient information to help with identifying any bird we saw in this location.
Discover the essential gear that birdwatchers need in this article here on my blog.
2. Remember When You Saw The Bird?
Remembering when you saw the bird is important as some birds are migratory and only visit certain areas at certain times of the year.

All you have to do for this step is to record in your phone calendar or on your notepad the day and month in which you saw the bird.
You can record the time also if you wish though this is not as important.
3. Identify The Color Of The Bird
It is not important in this step to record every color of the bird, some birds can have many colors and they can blend together in different shades that may be hard to identify.
What we are looking for here is the main color or colors of the bird.
Here are some examples:
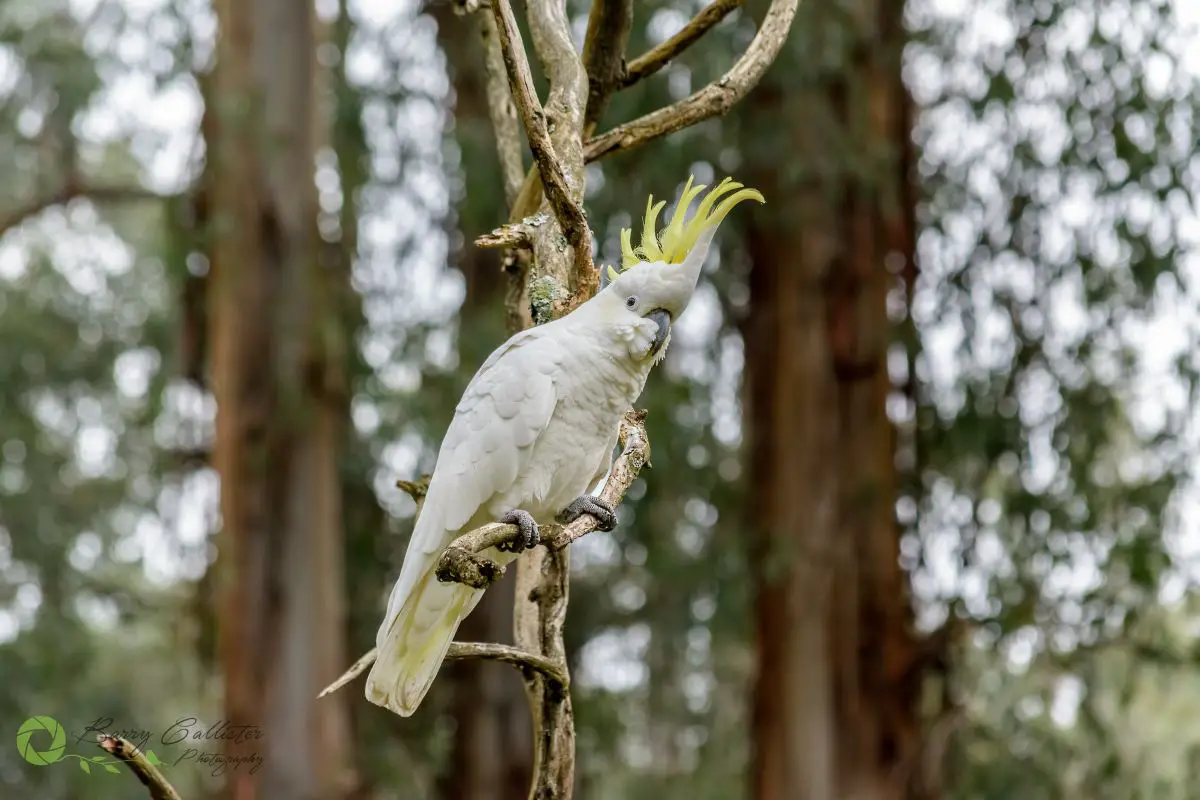
The yellow feathers on the head of this bird are called its Crest. Learning bird parts can be a huge help when trying to identify them. We’ll look at learning bird body parts in another step later on.
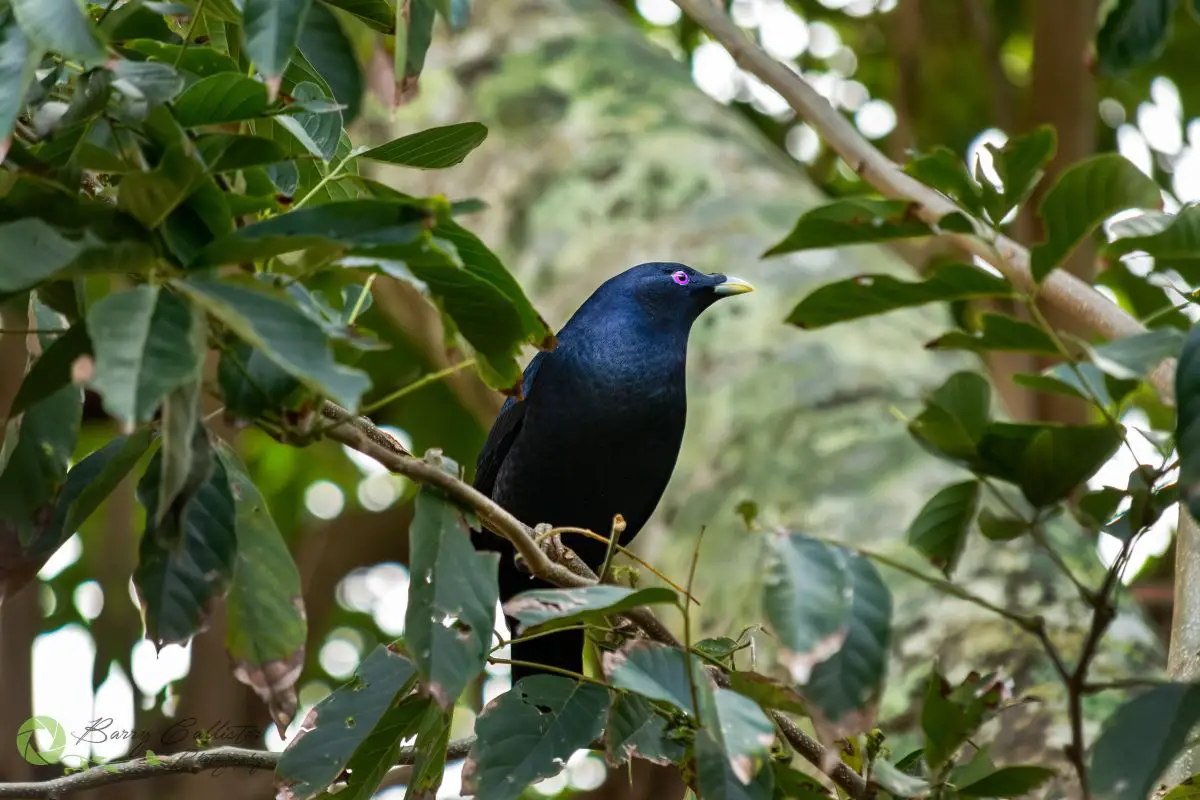
One thing you will notice about the Satin Bowerbird above is that it has striking violet-colored eyes. This is something to look out for when trying to identify a bird also as many birds have a unique color to their eyes.
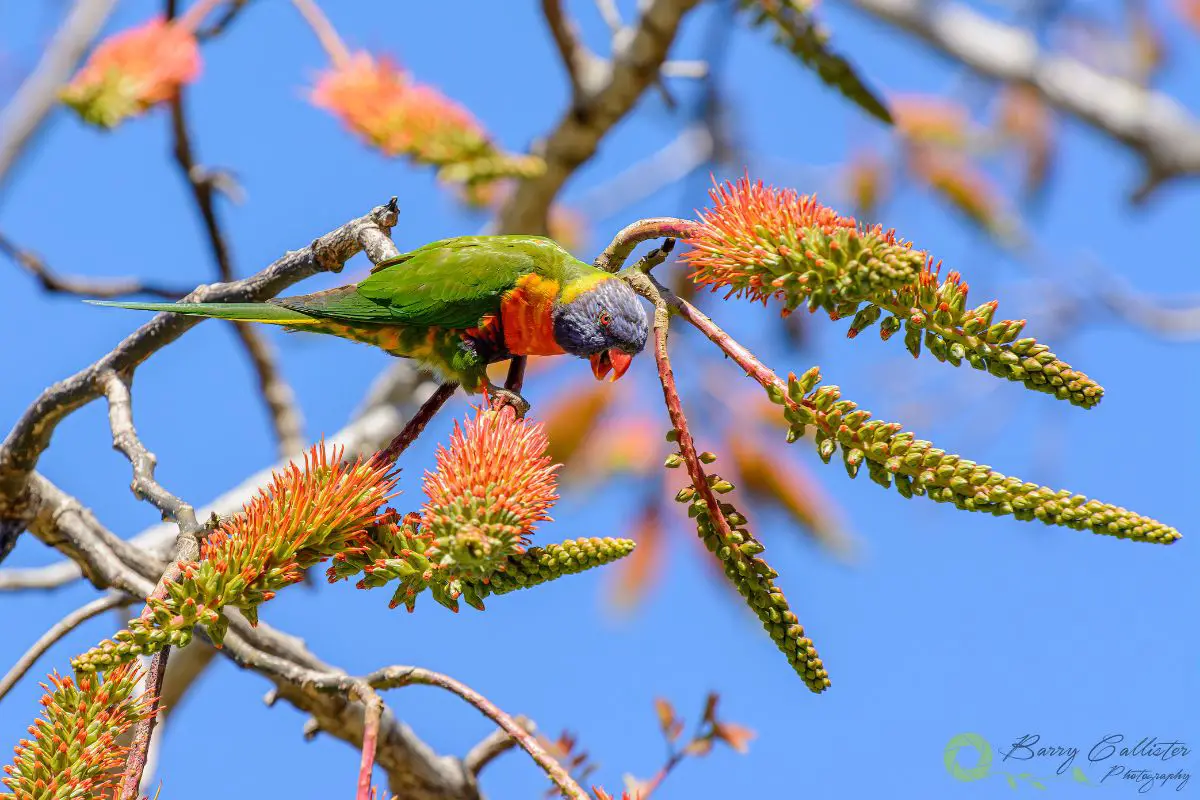
With birds such as the Rainbow Lorikeet above, you can simply pick out the two main colors of the feathers. It’s clear the bird has yellow, red, and even orange on it too but this is not really important. This will make sense later in this article, trust me…
Meet 9 beautiful yellow Australian birds in this article here on the blog.
4. Compare The Size Of The Bird
This is just as important as what color the bird was. For this step, what you can do is compare the size of the bird to a common species such as a Crow or a Raven.
Crows and Ravens are birds that most people see on a regular basis as they are found all over the world in a variety of habitats. Because of this, they are a great yardstick for identifying other birds.
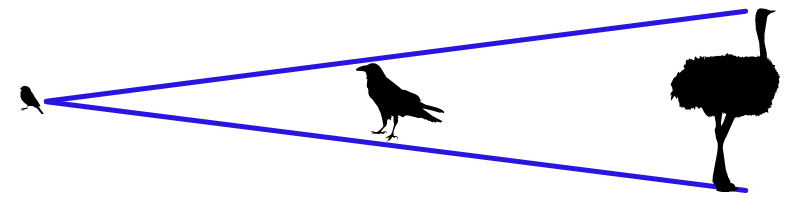
As you can see from the scale above, if we consider a crow or raven as the standard, it’s easy to then decide if the bird we saw was larger or smaller than a crow or raven.
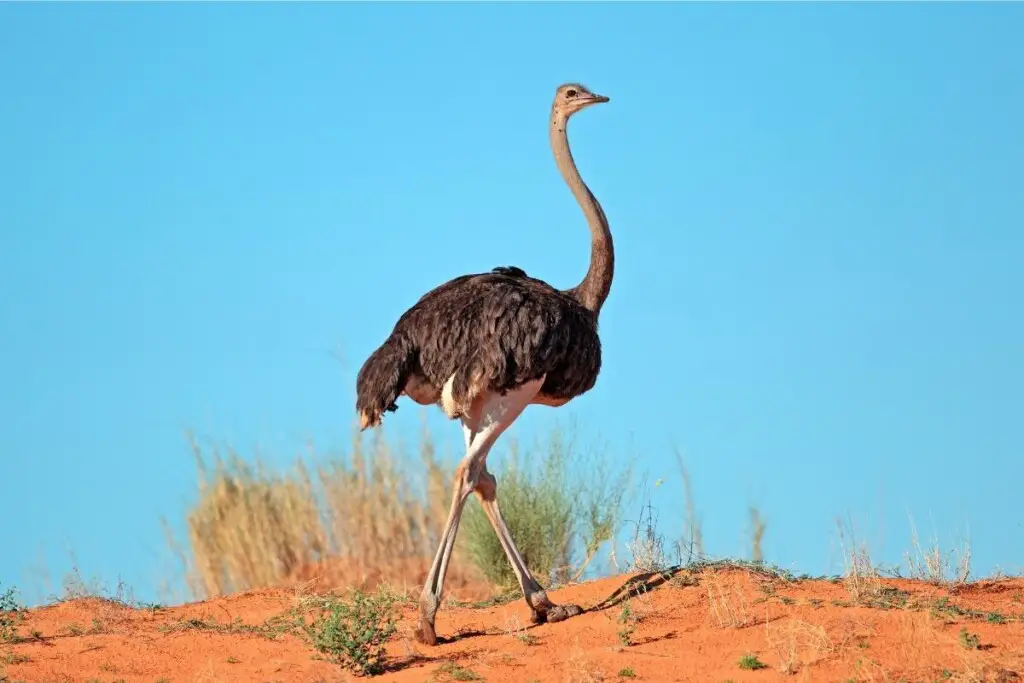
The Ostrich is at the top of the scale as it’s the largest bird in the world. At the other end, we have Robins and other such small birds.
5. Identify What The Bird Was Doing
Knowing what the bird was doing when you saw it can help greatly in identifying it. You don’t have to figure out exactly what it was doing, just remember the general activity it was doing and/or where it was while doing it.
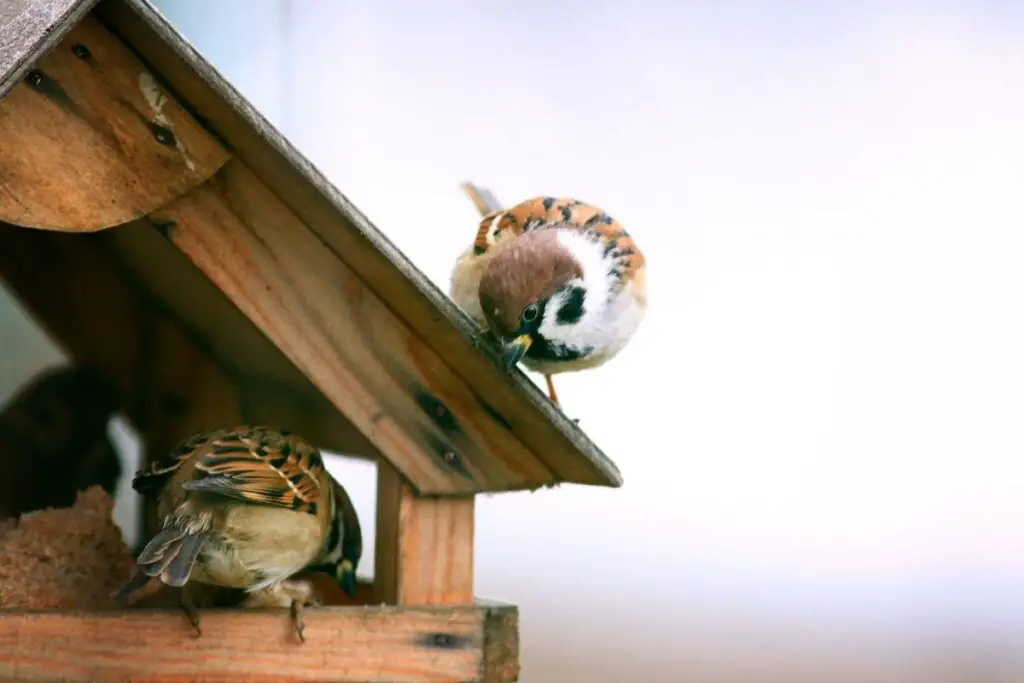
This is important because different bird species engage in different behaviors, for example, some birds will eat from bird feeders and others will not.
Some examples of activities you may choose to remember are:
- Perched in a tree
- Foraging on the ground
- Wading or swimming in water
- Eating from a feeder
- Flying or gliding
- Hiding in bushes
Can birds fart? C’mon, you know you just have to find out…this post will tell you.
6. Notice If The Bird Was Alone
In this step you simply want to notice whether the bird was alone, with another of its kind, or in a flock with similar or different species.
Certain species of birds like the company of others and will spend a lot of time with groups of other birds.
Some species will flock with specific other species, for example, Elegant Parrots in Australia will hang about with Blue-Winged Parrots when feeding.
7. Listen To The Sound The Bird Makes
Each bird species has its own way of communicating and this can help us to identify them even if we can’t see them.
Now, you might be wondering how on earth you are ever going to learn the calls of every bird species in the world?! Just learning the call of all the birds in your local area can be hard enough! The best thing is…you don’t have to!
There are a number of tools you can use to recall a bird sound:
- Your brain – if you don’t have anything with you at the time to record the sound, just keep it in your head. Try to whistle it a couple of times to get it stuck in your brain so you can remember it later. You can then check online or in a phone app for a call that matches.
- Your smartphone – every phone has some type of voice recorder app on it these days. All you have to do is open up the app, press record and capture the bird’s call. You can then compare that recording to those online or in phone apps.
- A bird sound identification app – there are many bird sound identification apps on the market. Some are not very good but some do okay in figuring out what bird is making a particular sound. We’re going to look into phone apps later in the article.
8. Take A Photo Of The Bird
This can give you time to look at the bird in more detail. Some birds are there in front of you and then gone in an instant. Taking a photo allows you to study them on your phone or computer where you can get a little closer by zooming in on the image.
If you have a camera with a decent zoom lens, that’s perfect but if you only have your phone, that will do also. You don’t even need to get a really great photo of the bird, as long as you can make out the color, size, and shape of it that is all you need.
Discover the gear and settings you need for good bird photography in this article.
9. Learn Bird Body Parts
I suggest you make an effort to learn the names of the body parts of birds. Knowing this will help you to understand the descriptions in bird identification apps.
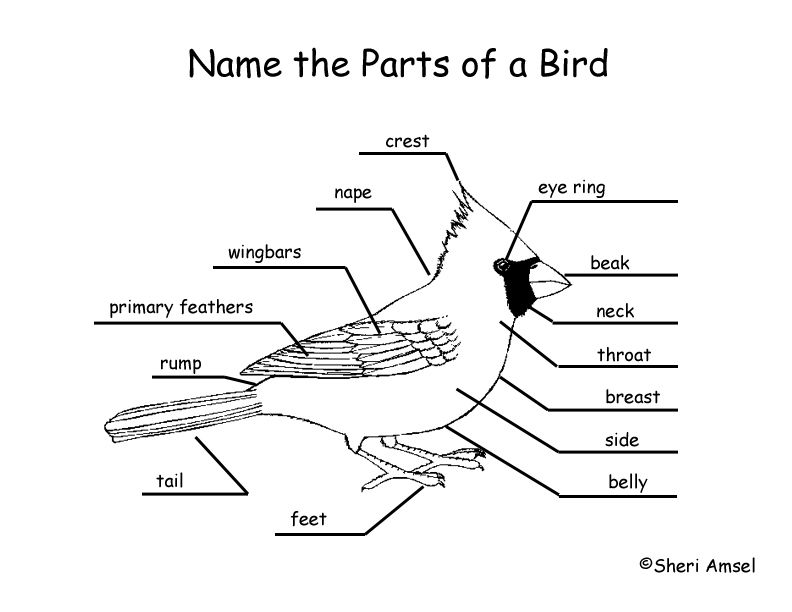
The image above names only a few important parts of a bird but it’s a start to learning bird anatomy.
I discovered this amazing page on allaboutbirds.org where you can highlight certain parts of a bird’s anatomy and also use “flashcard mode.” This is a great way to learn the parts of birds.
10. If The Bird Was Flying, Notice How The Bird Was Flying
At this point, you might be thinking that I have totally lost the plot, “how was it flying?!” I’m not crazy, trust me, I’ve been tested.
In the same way that each person has a unique style to their walk, each bird species also has a unique style in how they fly.
Pigeons for example are what I call “flappers.” They flap their wings a lot and rarely ever glide.
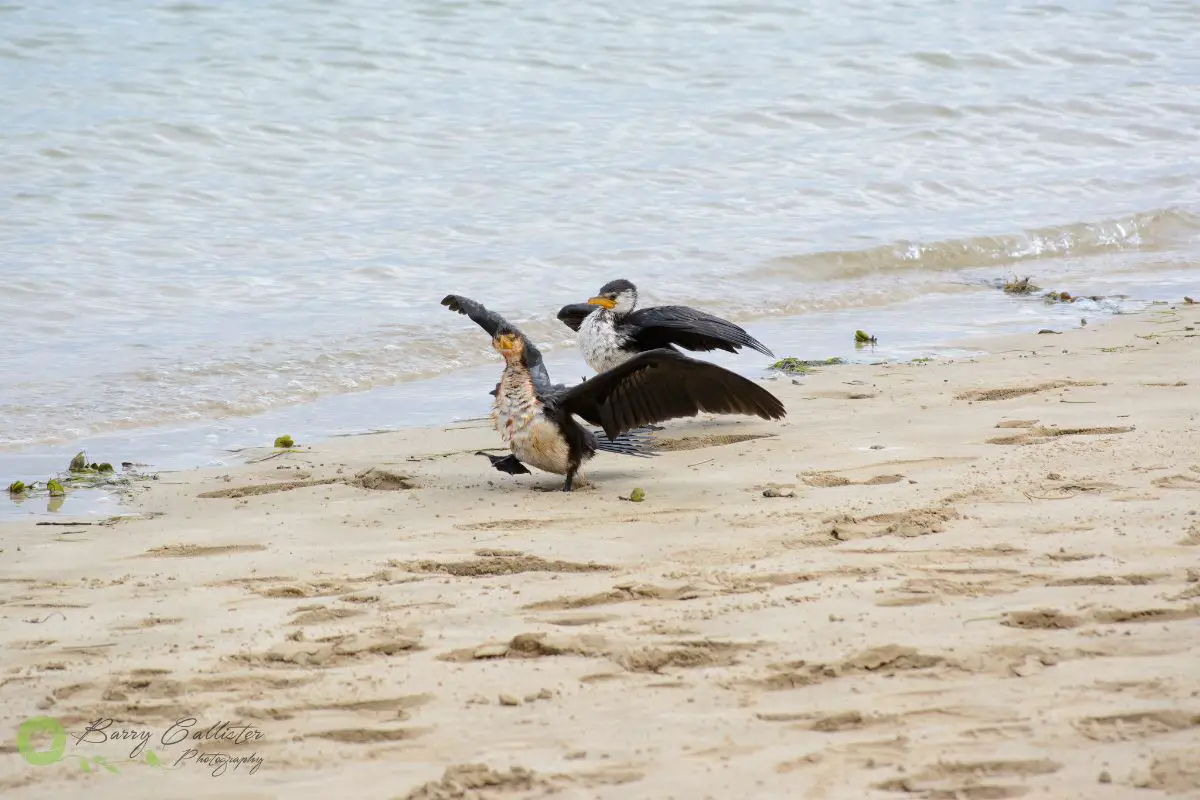
Cormorants are flappers too but they sometimes glide. There is also a certain style to how they flap their wings; it’s more rhythmically controlled, not so fast or seemingly chaotic as a pigeon:
Another example of the difference in flight styles of birds is that of Eagles or other kinds of Raptors. They soar, gliding on thermal updrafts. They do this because they have very large wings and it takes a lot of energy to flap those things:
This is not something you can learn overnight so what I suggest is spending a lot of time around birds. I have spent years watching birds of all kinds and there are quite a few I can recognize from a fair distance simply by how they fly.
Tools To Help Identify Birds
All of the steps above are designed to be used with the tools I am about to present you with. If you own a smartphone (86.63% of the world does) then you can use these tools to quickly get an ID on any bird.
I have already mentioned smartphone apps that can help you identify birds by their calls. There are many apps and books for helping with bird identification and I’m going to present you with my favorites here. These are apps and books that I use regularly and have had success with.

I set out the steps above in a way that will make identifying birds using apps or books so much easier. If you have the information you have gathered in each step above then you can simply use these details within the app or book to put a name to the bird.
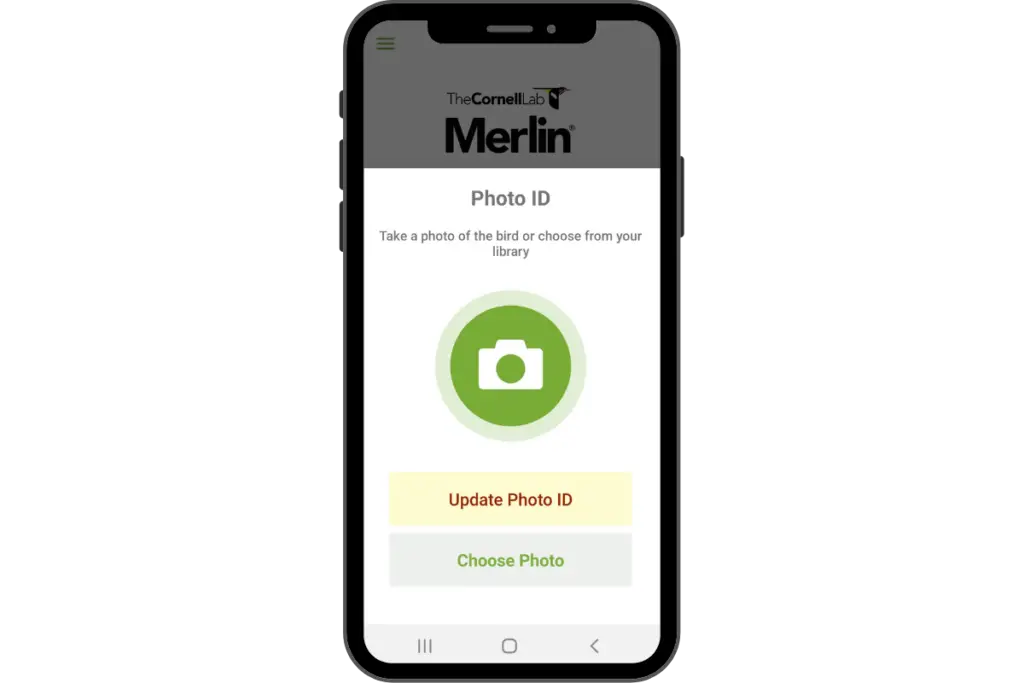
The Cornell Lab Merlin App
The bird identification app that I use the most is Merlin from The Cornell Lab. Merlin is completely free to use. It contains very basic information about each bird species but it includes over 7500 species from all over the world.
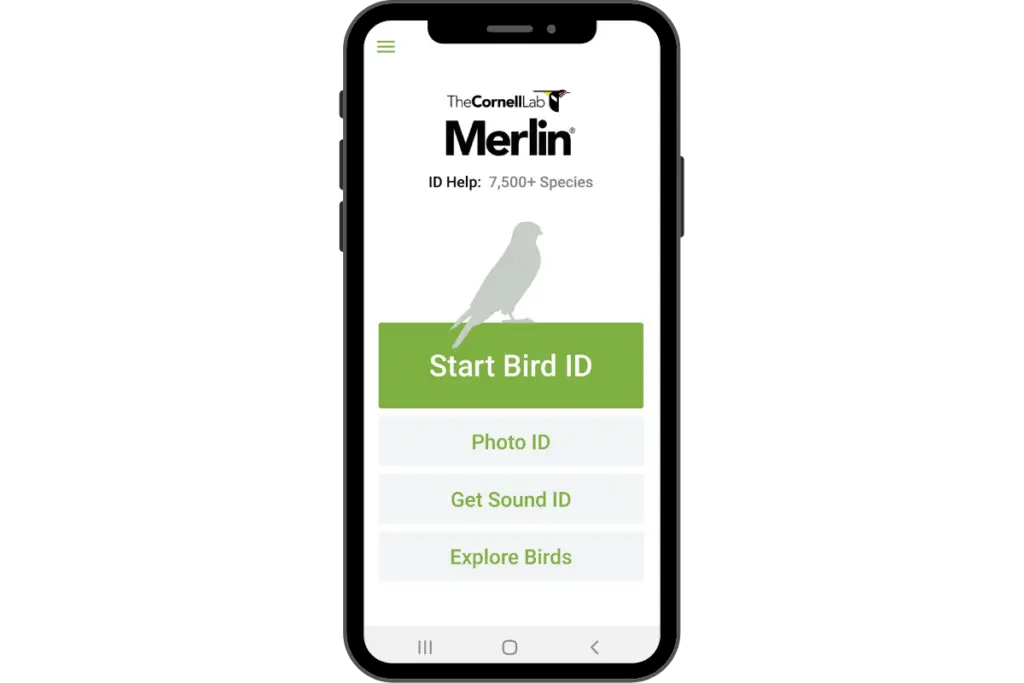
You can download bird “packs” to your phone, for example, I have the Australia Southeast pack as that includes my local area. I have also downloaded the US and Canada continental pack too. Each pack is free to download.
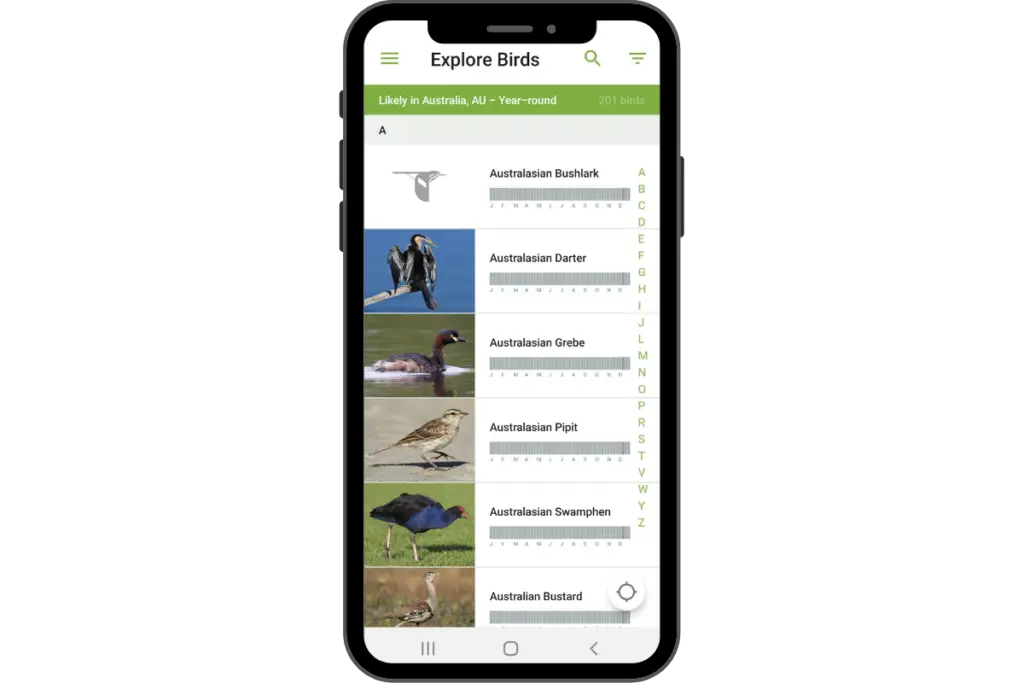
You can ID birds by photo, sound, or by answering a series of questions about the bird you’re looking to identify.
Try the app for yourself. You can download it via the following links:


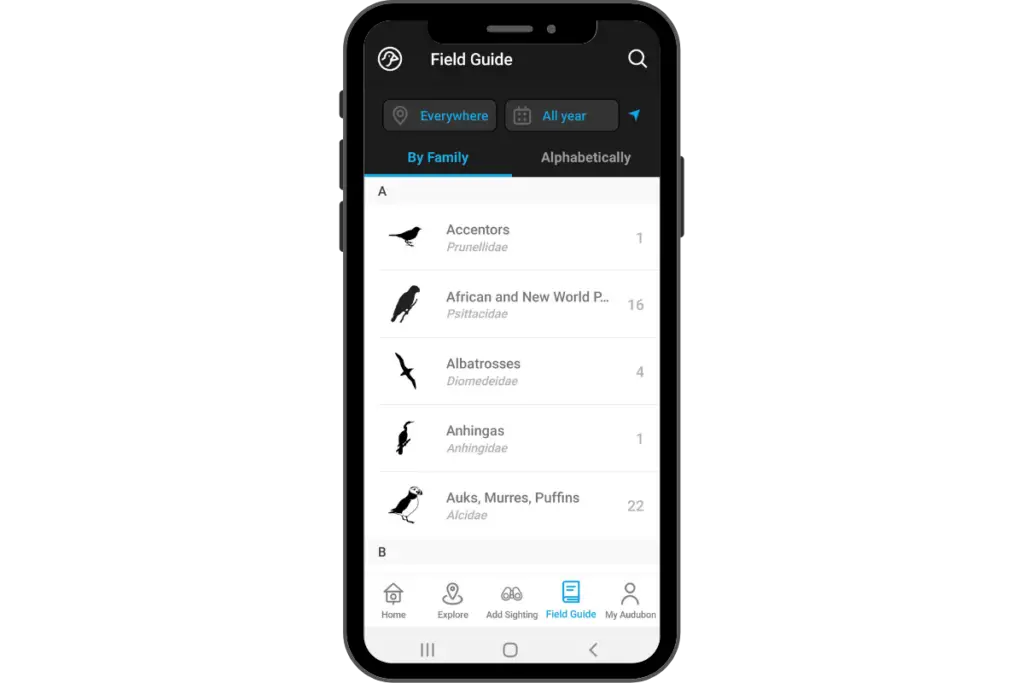
The Audubon Bird Guide App
If you live in North America or are just interested in North American birds, the Audubon Bird Guide App is fantastic.
This app contains a great amount of information on over 800 species of North American birds. Every time you open the app there is a new feature teaching you about a new species. You can identify a bird or search the guide from this screen.
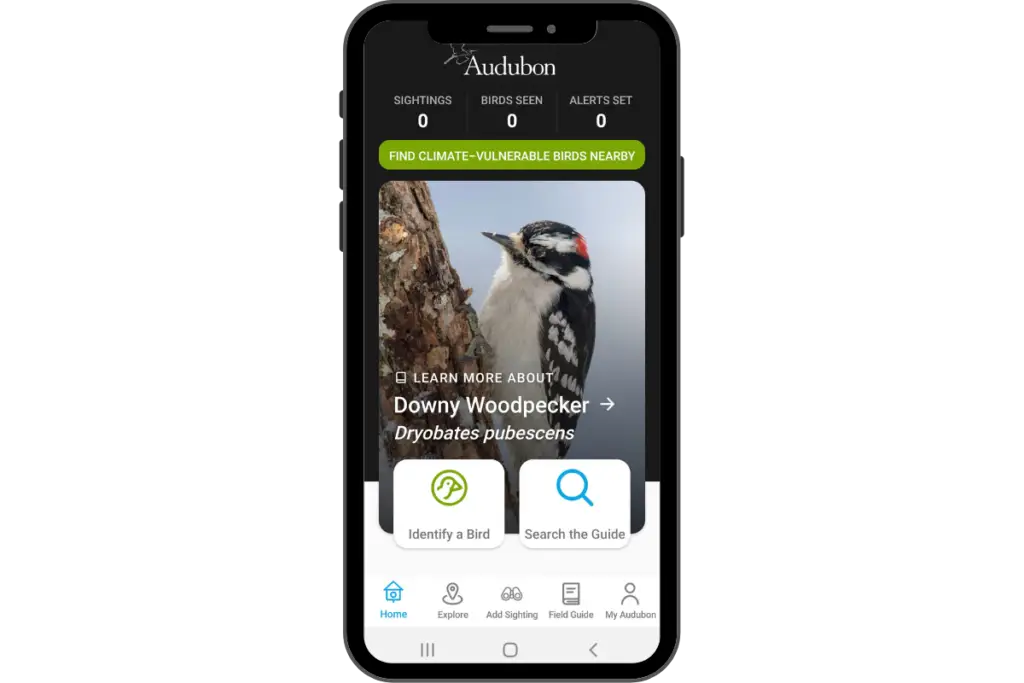
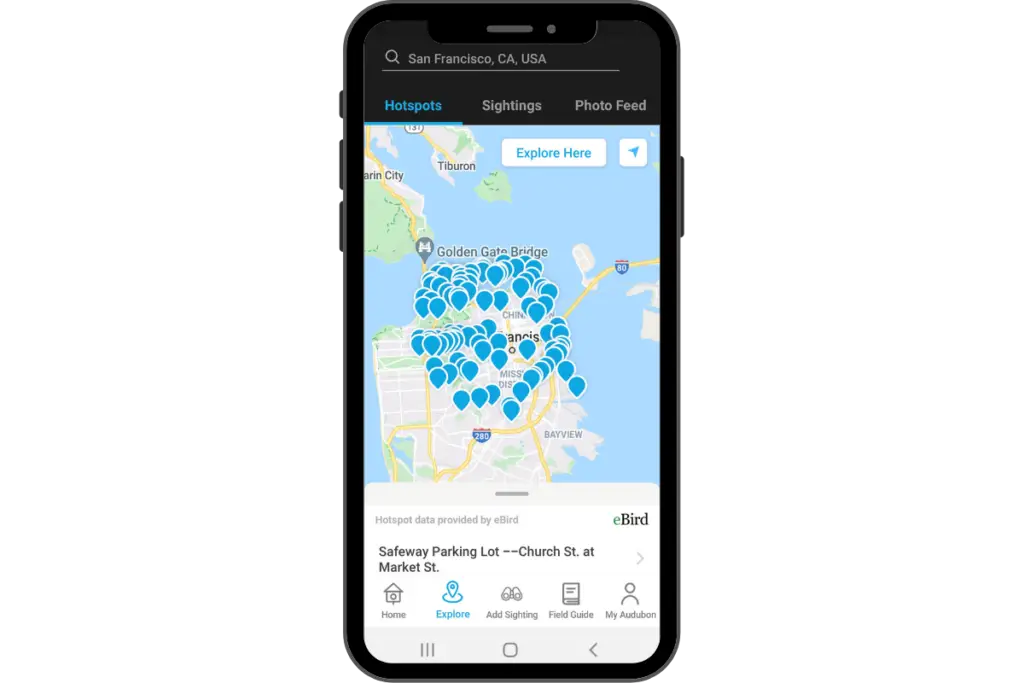
You can explore sightings by location and also enter and track your own sightings by first creating a free account with Audubon.
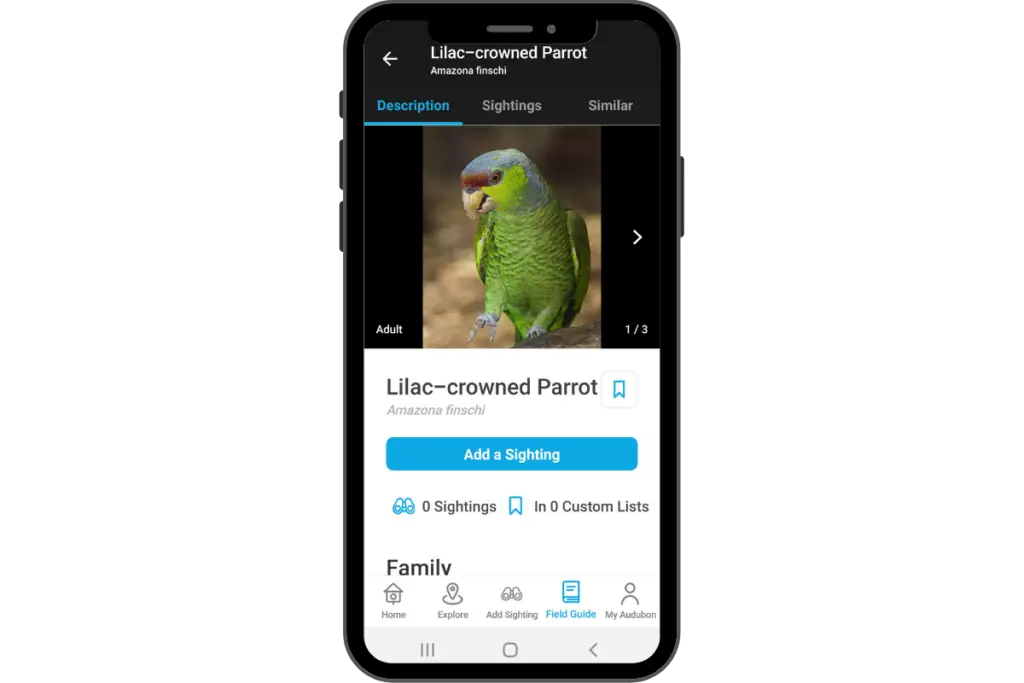
The app also contains an amazing Field Guide with pages of information on each bird.
The image below shows the top of the Lilac-crowned Parrot page within the Field Guide section of the app. The rest of the page shows information about its Family, Description, Range, Habitat, Nesting, and a Discussion section with various facts and anecdotes about the bird.
Try this app for yourself. You can download it via the following links:
Bird Guide Books
If you prefer not to rely on technology, then a Field Guide book will be right up your alley.
The following guides are used and recommended by me here at Birdwatch World:
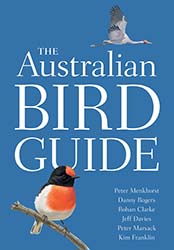
The Australian Bird Guide is the most comprehensive guide for Australian birds. 249 color pages with 4,000 images of 900 bird species. You can’t go wrong with this one. Check the latest prices from Amazon, Walmart, or eBay below:

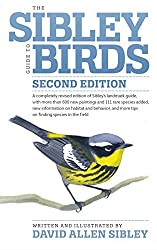
Sibley bird guides are among the best and used by millions of birders all over the world. This one is 624 pages that are beautifully illustrated with paintings of each species. The button below will take you to a page where you can explore pricing from Amazon, Walmart, or eBay:
Summary
With these steps for identification and the tools I’ve presented here, you should soon be quickly identifying birds with no trouble at all.
Let’s go over the steps again:
- Remember where you saw the bird.
- Remember when you saw the bird.
- Record the color of the bird.
- Record how big the bird was compared to a Crow/Raven.
- Remember what the bird was doing when you saw it.
- Was the bird alone, in a pair, or with a flock?
- What sound was the bird making?
- Take a photo of the bird if you can.
- Learn bird body parts.
- Take notice of how the bird was flying (if it was).
I wish you all the best with your birding and identifying all the amazing birds you discover.