Bird photography is quite a difficult style of photography. It’s even harder if you don’t know or understand the camera settings you need to do it. I have been photographing birds for over 7 years and sold many of my bird calendars and thousands of prints. In this article, you will learn all about aperture for bird photography and what is the best f stop to use.
The best f stop for bird photography is between f/7.1 and f/9.0. The reason for this is that most lenses produce their sharpest images at these apertures. Which aperture value you choose will depend on how much light you have available when the image is taken.
Using an aperture of between f/7.1 and f/9.0 will result in a nice depth of field and a sharper image. Continue reading to discover more about aperture in bird photography and how to get the best results for your images.
As an Amazon Associate, I earn from qualifying purchases. Birdwatch World earns commissions from Amazon and similar affiliate programs from any purchases made via links in this article.
How The f Stop Affects Your Bird Photos
Before we understand what the best f stop for bird photography is and why we should use it, we need to understand the effect aperture has on our images.
Just in case you don’t fully understand aperture and f stops, I’ll explain them to you. If you already know what these are, skip to this point in the article.
What Is Aperture?
The aperture is the adjustable hole inside a camera lens. It opens up to let more light into the camera or closes down to let less light in. It is measured in numbers called f stops. The smaller the f stop number, the wider the aperture is and the more light that is let in. The larger the f stop number, the smaller the aperture is and the less light that is let in.
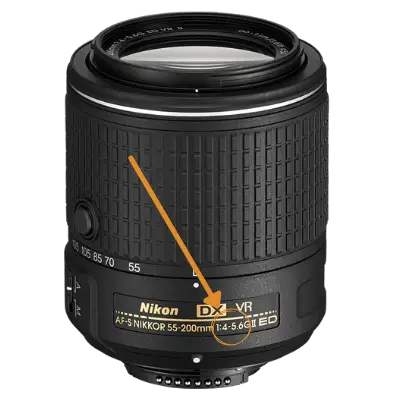
Each lens you own will have its widest and smallest apertures labeled on the side of the lens.
In the diagram below, you can see that the aperture not only controls the amount of light coming into the camera but also the depth of field (DOF).
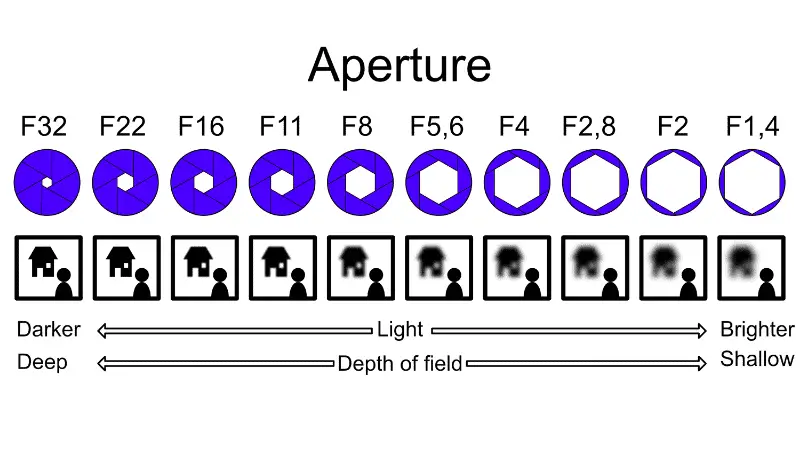
Depth of field is how much of the image in front of or behind the subject is in focus. If the background behind a subject is quite blurry, this is called a shallow depth of field. If the background is more in focus, this is called a deep depth of field.
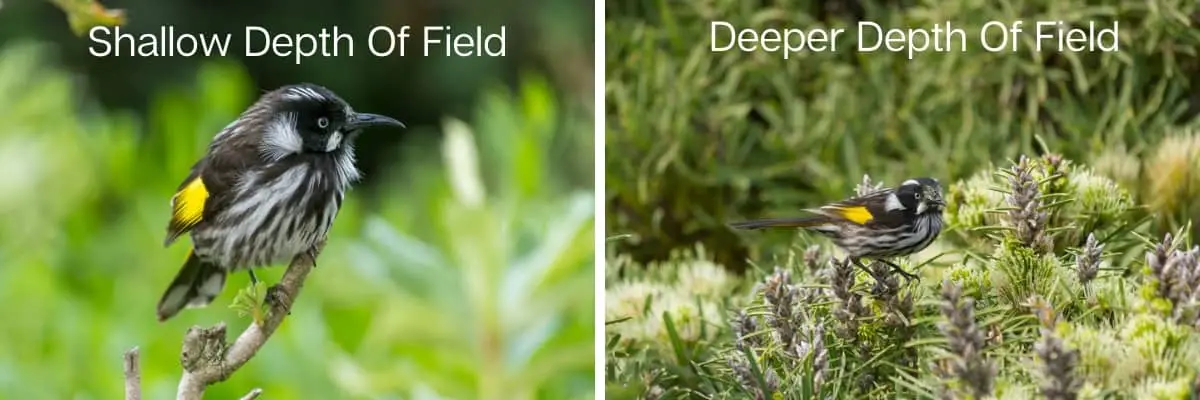
Two other factors also influence the depth of field and they are focal length and distance to the subject. Both of the images of New Holland Honeyeaters above were taken at f/5.6 and a focal length of 200mm. In the second image, the camera was further away from the bird when the photo was taken. Hence, the image has a deeper depth of field.
Learn more about the gear and settings required for bird photography in this post.
Aperture Vs Depth Of Field
We know that aperture affects how much depth of field we will have in our photos. Wider apertures such as f/4.0 produce a shallow depth of field and smaller apertures like f/22 will give a deeper depth of field. However, we also know that the distance to our subject and focal length affect the depth of field as well. So how do we choose the right aperture to get the depth of field we want?
Wide Aperture For Shallow DOF
If a wide aperture such as f/4.0 will produce a nice blurry background and leave our bird nicely in focus then is it best to leave your aperture set to its widest setting?
You would think this might be a good idea but the problem is that most lenses do not produce very sharp images at their widest apertures. Generally, lenses will take the sharpest images at around f/8.0.
Also, we want to get as much of the bird’s body in focus as we can too. Using a wider aperture like f/4.0 is going to produce a really shallow depth of field which might leave some of the bird or its perch out of focus.
But if an aperture of f/8.0 gives a deeper depth of field, then how do we achieve a nice blurred background using f/8.0?
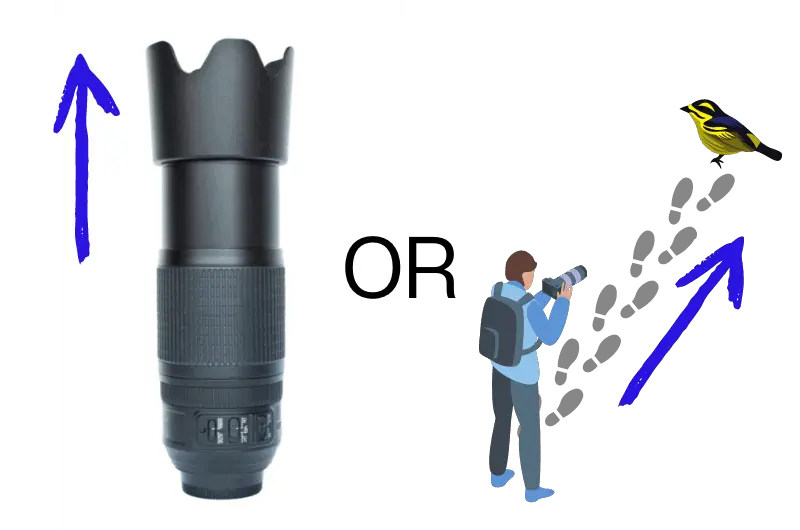
This is where the distance to our subject and zoom comes in. To get a nice blurry background at apertures like f/8.0, you need to get closer to the bird. There are two ways of doing this; either you get physically closer which may not always be possible with birds, or you zoom in.
Moving closer to your subject and zooming in produce the same effect – the closer you get (by either moving in or zooming in) the shallower your depth of field will be, hence the blurrier the background will be.
Find out why your bird photos are blurry in this post here on my site.
Aperture Vs Zooming or Moving Closer
Regardless of your aperture, the closer you move to a bird or the more you zoom in on it, the shallower your depth of field is going to be. This is why using apertures between f/7.1 and f/9.0 is best because we can move closer to the bird or zoom in more and still get enough depth of field to get the entire bird and its perch in focus.
Of course, the added bonus in keeping our aperture between f/7.1 and f/9.0 is we also get a sharper image. All the finer details in the bird’s feathers are going to be nicely crisp and sharp and we will just get a better-looking image.
Do You Need Expensive Lenses For Bird Photography?
The simple answer to this question is no, not unless you want to. You do not need to buy super-expensive lenses with really wide apertures such as f/2.8 to get great bird photos. You can still get great pictures with nice, soft, blurry backgrounds using cheaper lenses, including the kit lenses that may have come with your camera.
Below are some example images that I have taken with a Nikon D5200 and an AF-S Nikkor 55-200mm f/4.0-5.6 kit lens. This is a really cheap lens that comes with a lot of Nikon DSLR kits. Check the latest pricing on Amazon, Walmart, and eBay here.
Example 1 – Flame Robin
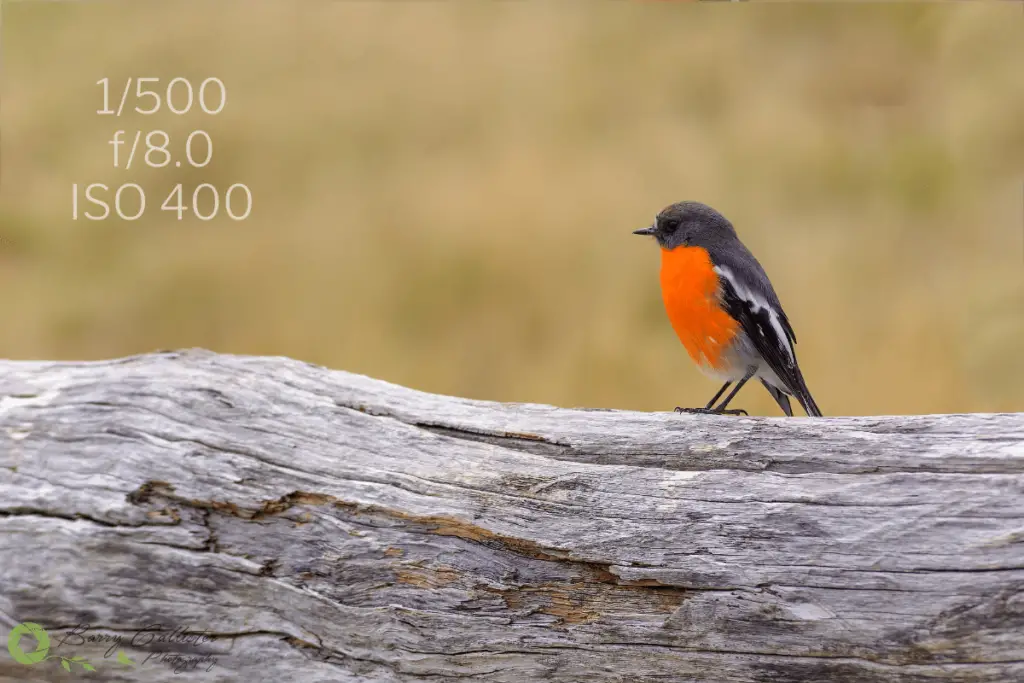
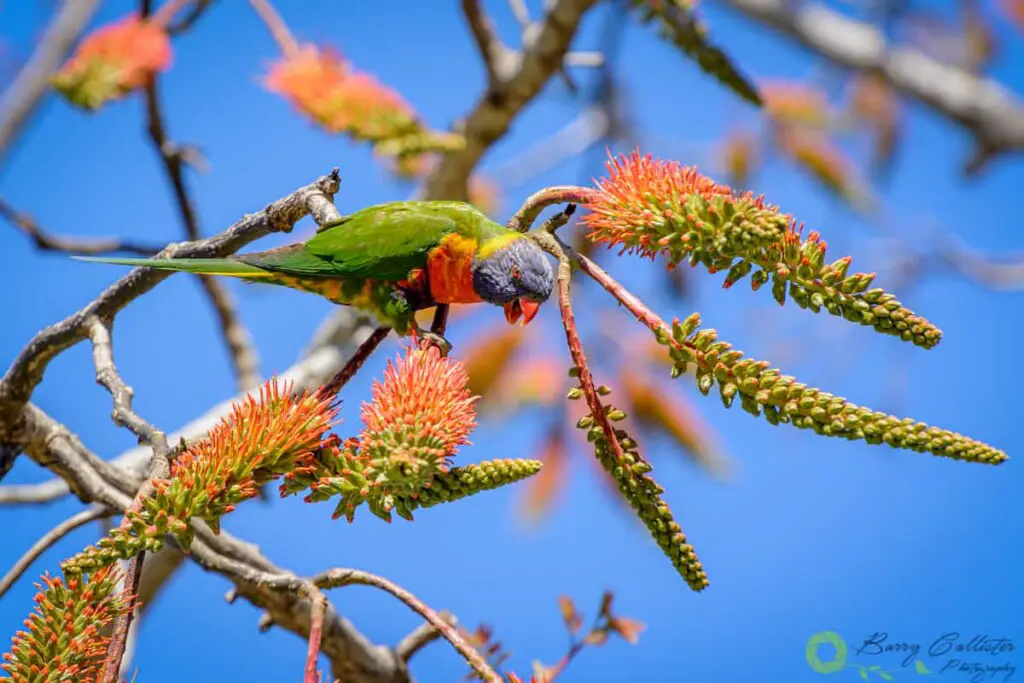
I was able to achieve the nice blurry background in the photo above as the Flame Robin was perhaps 5 to 10 meters from the grass in the background.
The further away from your subject the background is, the blurrier it will be. Remember this next time you shoot. Try to put as much distance as you can between the bird and what is behind it.
Example 2 – Eastern Yellow Robin
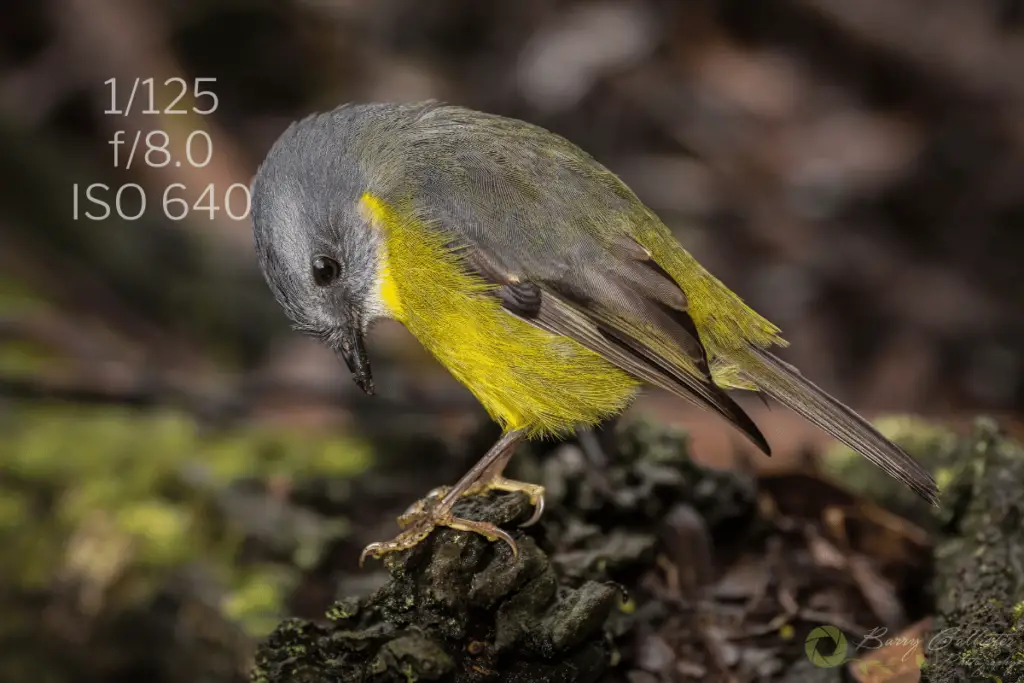
In this image of an Eastern Yellow Robin, I was again quite close to the bird. However, the background was also closer and thus is not as out of focus as the previous image. It’s out of focus enough to be not too distracting though and all of the bird is in focus.
Learn what focus mode should use when taking photos of birds here in this post.
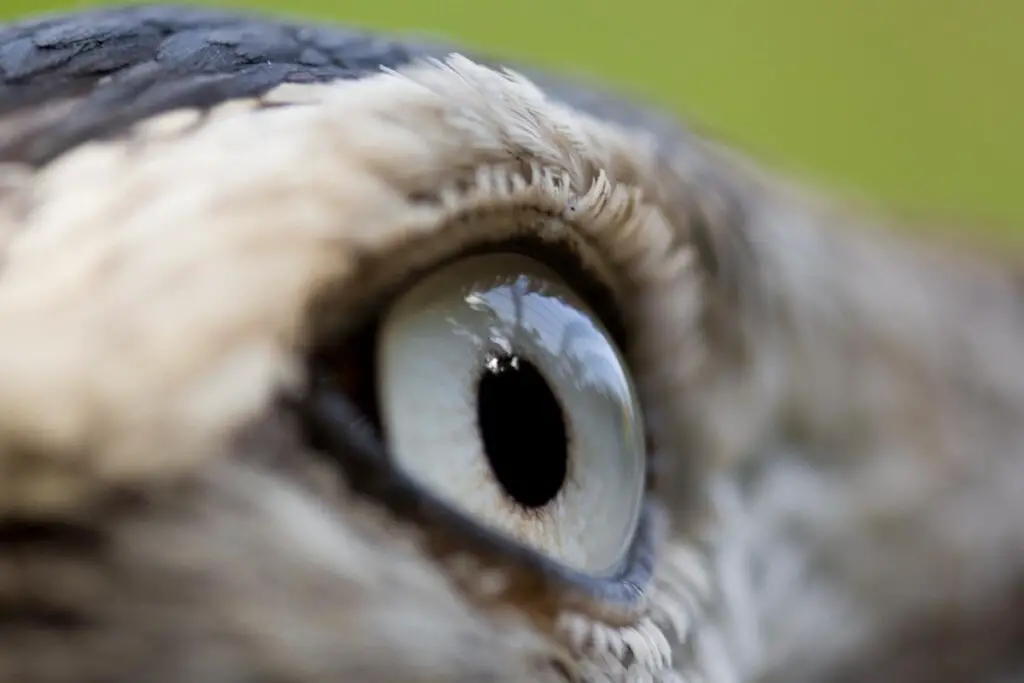
Example 3 – New Holland Honeyeater
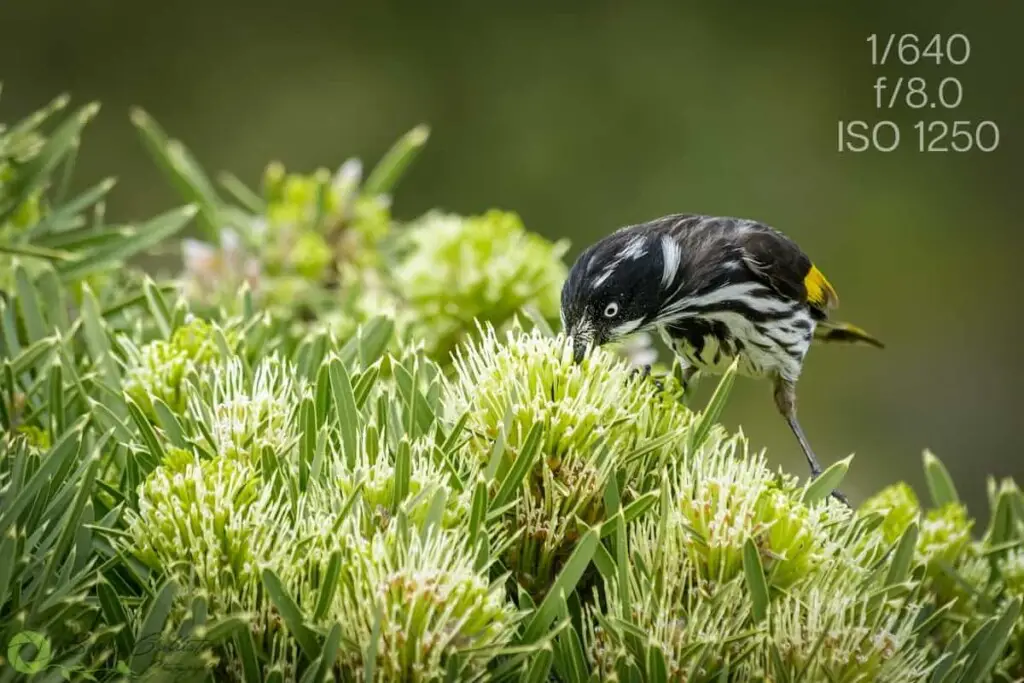
I included this example here because it has a nice shallow depth of field. However, not all of the bird is in focus. You can see that its eye and head are in sharp focus. The focus drops off slowly as we move back to the tail.
If I was to get the tail in focus here it would have resulted in the plant at the back left being more in focus; this would be distracting.
You don’t have to be too concerned with getting all of the bird in crisp focus, especially with a shot like this where we have some action going on. If this was a photo of a sitting bird or one that was perched or standing, then getting it all in focus would have been more important.
When the bird is doing something, like feeding, it’s more important for the action to be in focus. This is more important than having the entire bird in focus. This is a personal preference and it’s up to you how you like your photos to look.
In Conclusion
The major things I want you to take away from this post are the following:
- the best aperture for bird photography is somewhere between f/7.1 and f/9.0
- the closer you are to a bird, the shallower your depth of field will be
- the more you zoom in on a bird, the shallower your depth of field will be
- if the bird is further away from the background you will get more blur in the background
- you do not need to use wide apertures to blur the background
- you do not need to spend big dollars on lenses to get nice, shallow depth of field in your photos
How you choose to set your aperture will depend on your preferences in relation to how you like your photos to look. There are no hard and fast rules here.
More expensive lenses will produce sharper images at wider apertures but you may not have the money to spend on them. You have learned here in this article that you can get really good results with cheaper lenses.

Next time you are out shooting just remember that depth of field is not only affected by your aperture but also by how close you are to the bird and how much you are zoomed in. Also, remember that changing your aperture will require you to adjust other settings too. You will have to adjust your Shutter Speed and/or your ISO to get the correct exposure.
Most of all though – remember to enjoy your bird photography!