Best Camera Settings For Sunsets - Learn Them Today!
449 views · Aug 30, 2022 birdwatchworld.com
Best Camera Settings For Sunsets - Learn Them Today! So what ARE the best camera settings for sunset photos? That is kind of the same as asking “how long is a piece of string” and I’ll tell you why. The best sunset photography settings are those that are going to get you the best results under the conditions you are shooting in, with the camera and lens that you are using. They will change every time. Of course, there are certain standard settings that you want to use every time you take sunset photography. You want to set your ISO to its lowest value, which is ISO 100 on the Nikon D5200. Your Aperture should be somewhere in the range of f/8.0 to f/11.0. You then adjust your shutter speed to give your sunset photo the correct exposure or the look that you are after.

The Worst Thing About Auto ISO In Manual Mode - Is It As Goo...
85 views · Aug 29, 2022 birdwatchworld.com
The Worst Thing About Auto ISO In Manual Mode - Is It As Good As I Said? Well.....maybe not! I previously released a video raving about Auto ISO in Manual Mode. At the time, I had only been using Auto ISO in Manual Mode for a couple of weeks. I’ve discovered a problem with it. My camera seemed to be focusing a lot slower. I was using it for bird photography, specifically for flying birds. I was getting frustrated because the camera seemed to be taking a long time to lock focus a lot of the time. I was thinking perhaps there was something wrong with my lens, or something else had gone wrong in the camera. Then I thought about it a bit more and realized that it must be the Auto ISO. In allowing the camera to choose the best ISO while I was tracking a bird across scenes with different contrast and brightness levels, I was giving it too much to think about. This was slowing down the time it took to lock focus. I was missing a lot of good shots. Now, this may be a problem specific to my camera. It may just be that the processing power of the D5200 is just not enough to handle focusing and Auto ISO at the same time. I am interested to find out if you are experiencing this problem too, so please leave a comment below the video if you have noticed any change in how your camera focuses while using Auto ISO. Auto ISO in Manual Mode is a wonderful thing, however, it may cause your camera to focus slower. Just keep this in mind when using auto ISO for bird photography or wildlife photography.
Camera Settings For Sunrise Photos - PLUS! 3 Tips To Make Yo...
2K views · Aug 24, 2022 birdwatchworld.com
Camera Settings For Sunrise Photos - PLUS! 3 Tips To Make Your Shots Even Better. What are the best settings for sunrise photos? Find out in this photography basics tutorial. The camera settings for sunrise photography are not difficult but if you don't know a couple of important things, it can mean getting photos that you just aren't happy with. The tips I give you in this video are really just the tip of the iceberg but they will improve your sunrise photography just the same. Make sure you watch the whole video to get the tips at the end. Those 3 tips alone will take your sunrise photos (or sunset photos), to another level.
Using Auto ISO In Manual Mode - How To Do It With Nikon D520...
1K views · Aug 31, 2022 birdwatchworld.com
Using Auto ISO In Manual Mode - How To Do It With Nikon D5200. In this photography tutorial video, you will learn why using auto iso in manual mode on your DSLR is such a great idea. I also show you how to set Auto ISO in Nikon D5200. If you have another brand or model of camera, don't despair, you will still learn a lot about Auto ISO for bird photography, wildlife photography, and sports photography. Manual mode with Auto ISO is almost like using an auto mode - you set your Aperture and Shutter Speed and let the camera decide what the ISO should be from moment to moment. This is fantastic for bird photography where you have subjects that move across different brightness levels in the scene. I have experimented with the Nikon D5200 Auto ISO in manual mode and find it to be really great for assuring I get good exposure in my bird photos. You can try it for yourself and see if you like it.
Keep Camera Dry In Rain - 3 Easy DIY Solutions With One Litt...
680 views · Sep 5, 2022 birdwatchworld.com
Keep Camera Dry In Rain - 3 Easy DIY Solutions With One Little Bag. You must be looking for a way to keep your camera dry in the rain? In this video, I’m going to show you 3 different ways that you can do that with just a simple ziplock bag. If you have a DSLR camera that is not weather-sealed, then this video is for you. All you need for a diy camera rain cover is a ziplock bag that will fit your camera inside of it. The first method is the simplest and easiest. All you have to do is grab your ziplock bag and slide your camera up inside it backwards, so the lens will stick out the open end. As the bag is transparent, you can still see all the controls and the LCD screen, and you can work the buttons with no problem. You have to pull the bag back from the front of the lens to take photos, but this is no problem. When you’re done taking photos, just pull the bag back over the end of the lens. You can walk around holding the camera down so the water just runs off the end of the bag and your camera stays dry. An easy DIY camera rain cover. Method number two involves a tiny bit more work. What you want to do is cut a small hole in the bottom of the bag and then stretch that over the end of your lens. You then screw your lens hood on, securing the bag onto the lens. This is better than the first method of camera rain protection as you don’t have to pull the bag back from the end of the lens to take a photo. However, you may still get rain coming into the lens hood and possibly onto the glass of the lens. How to keep your camera dry in the rain method number 3?! (this one is my favorite). With this method, you get to keep your camera strap on, so it’s a more secure way of protecting your camera from the rain. I used this in Antarctica in the rain, snow, and ice and it worked a treat?! With the previous methods, the bag will get wet and can get a little slippery. We don’t want to drop our cameras and expensive lenses, so this way is a bit safer. Now this will work with the standard brand-name straps that come with your camera. What we do is cut two small holes in the bottom of the bag to thread the ends of the strap through. You then attach the strap to the camera and you are good-to-go. Pull the opening of the bag down over the front of your lens. When you’re ready to shoot, just pull back the ziplock bag as with method 1. When you’re done shooting, pull it back down and your camera will stay dry and protected until you want to take your next shot. Now for the bonus tip?! At one point in the video, I mention using one of these ziplock bag camera rain protection ideas in Antarctica. One thing you will know about Antarctica is it’s damn cold?! When you go to the snow or any cold environment; eventually, you will come back inside to a nice, warm and cozy room. What happens with your camera gear when you bring it from a cold environment into a warm one is it will sweat. This moisture is not good for your camera or your lenses. A simple way to protect your gear from damage in these situations is to have another ziplock bag (no holes this time!), and a silica gel pack. When you bring your camera back into the warmth, get it into the ziplock bag with the silica gel pack right away. What will happen is the gel pack will absorb all the moisture inside of the bag. Once you are satisfied that the camera has returned to room temperature, you can take it out of the bag. And that is 3 ways to keep your camera dry in the rain. I hope you enjoyed the video.
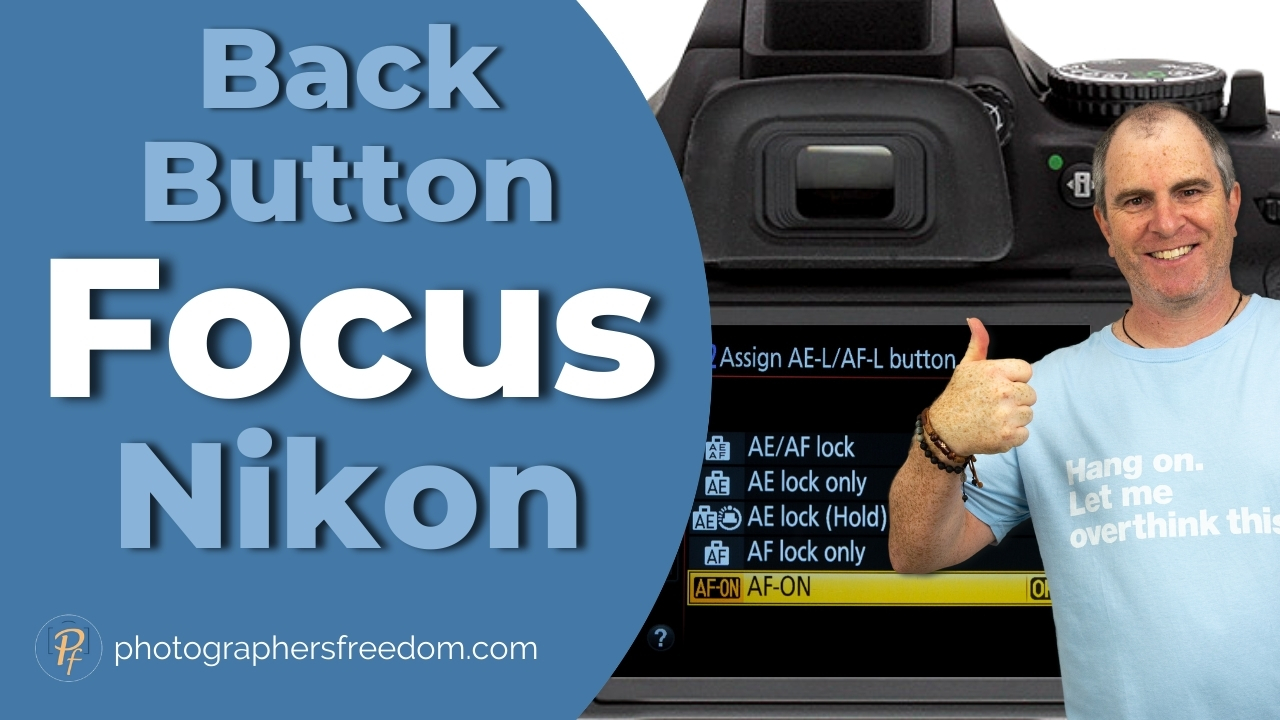
Back Button Focus Nikon - What Is It And Why Do You Want To ...
516 views · Sep 5, 2022 birdwatchworld.com
Back Button Focus Nikon - What Is It And Why Do You Want To Use It? Back button focus is a technique of assigning the auto-focus of your camera to a button on the back of the camera. In this video, you will learn how to use back button focus on Nikon D5200 and similar cameras. In the video, I show how to set it up on my Nikon D5200 but the process will be the same for most Nikon DSLR cameras. Back button focus is great for birds in flight. I have used it for years and it's allowed me to get some fantastic shots. It's a must-try for bird photography. What is back button focus also good for? It removes the need to change focus modes. You can photograph stationary subjects and if they start to move, you are ready to go with continuous focusing. It is Single Servo Auto Focus and Continuous Servo Auto Focus all rolled into one?! Try back button focus for birds in flight today.
What Is Aperture In Photography? - What It Is And How To Use...
3K views · Sep 7, 2022 birdwatchworld.com
What Is Aperture In Photography? - What It Is And How To Use It. Download the accompanying PDF here: https://www.barrycallisterphotography.com.au/product-page/what-is-aperture-and-how-to-use-it-pdf In this DSLR tutorial video, you will learn the basics of aperture. You will have aperture explained to you in an easy and practical way so, by the end of the video, you will know how to use aperture to get the results you want in your photos. I also talk about Depth of Field and the effect it has on your photos, and show you how aperture affects depth of field. I use a Nikon D5200 but this video is suitable for all DSLR users. What is an f-stop? I explain that too!

Digital Camera Histogram - How To Understand and Use Your Hi...
3K views · Sep 7, 2022 birdwatchworld.com
Digital Camera Histogram - How To Understand and Use Your Histogram. In this video, I show you both what a histogram is AND how to use the Nikon D5200 histogram. If you don’t need to know how to use the histogram on a Nikon camera because you don't have one, please stick around as histograms are the same across all digital cameras and you will learn how to use and read the one in your camera. At the end of the video I give you a tip that will help you to figure out your exposure before you take a shot, so stick around for that. A histogram is a digital representation of the brightness values in any particular image. It’s a simple graph. You did some kind of work with graphs in school, didn’t you? So it should be easy for you to understand your histogram. Assuming you understood graphs….in school?! But why on Earth would you want to use a Histogram in the first place? I mean, you can take a photo, check the LCD screen and see if it’s exposed properly or not, can’t you? Of course, you can. There are two problems with that, however. Firstly, you can’t trust your eyes and secondly, you can’t trust the LCD screen either. Your eyes don’t know if your shot is exposed properly and the LCD screen doesn’t either. So don’t trust them. Depending on the lighting in the area where you are looking at your LCD screen, or the brightness setting you have your LCD screen set to, your images can look darker or brighter than they actually are. The histogram is your new best friend because it will tell you accurately if your pictures are exposed correctly. Thank you for watching this photography basics tutorial.
Flash Photography Auto Mode - 3 Ways To Get Better Photos Wi...
745 views · Sep 8, 2022 birdwatchworld.com
Flash Photography Auto Mode - 3 Ways To Get Better Photos With On-Camera Flash in Auto Mode. Are you taking photos in Auto Mode on your DSLR and finding that the flash keeps popping up and ruining your photos? You get those washed-out, bland, bluh-looking images? In this video, I’m going to give you 3 ways to solve this problem. The first and most obvious thing you can do is just turn off the flash! Your camera should have an Auto Mode with no flash. Simply find that in your menu, turn it on, and hey-presto?! You’ve stopped the flash from popping up and you will get a much better, more natural-looking image. The second thing you can try involves your box of tissues. Every home generally has some tissues in it somewhere right? If you don’t have tissues, you can use paper towel, or even baking paper for this. Tissues are better because they are more easily manipulated. Grab one, double it over, and wrap it around your flash. Tuck it in at the back here if you can. If you can’t do that then just hold it over the front of the flash with your free hand. Don’t get your hand in the way though - light won’t pass through your hand as it does through the tissue. What this is going to do is soften and diffuse the light. This means that the light will not be so bright or harsh, and it will spread out more across your scene. Another thing we can do to get better photos with our flash photography in Auto Mode is what’s called bouncing the flash. This is where you use a piece of white paper or card to deflect or “bounce” the light from the flash off something else in the room; like the roof or the walls or some other surface. For this technique, all you need is a piece of white paper or card or even a business card. Simply place your paper underneath the flash bulb and direct it towards the thing you are going to bounce the light off. You then click off your shot, and that will give you a much more natural-looking result. It is a little darker than the full flash image but has much more natural colors and shadows. These are great tips for flash photography for beginners. If you are just starting to use on-camera flash, or it has been popping up on you whether you liked it or not - this on-camera flash photography tutorial will help you get better results. Thank you for watching this photography tutorial video today.
Fix Bright Photos In Manual Mode - 3 Ways You Can Get A Bett...
2K views · Sep 8, 2022 birdwatchworld.com
Fix Bright Photos In Manual Mode - 3 Ways You Can Get A Better Exposure will show you how to fix bright photos and start getting images you are proud of when using manual mode. I’m Barry Callister of Photographer’s Freedom, taking you from beginner, to better, to business. At https://photographersfreedom.com, you will find photography tutorials, camera gear reviews (just like this one!), photography business tips, and more, all designed to help you no matter where you are in your photography journey. The first way to reduce exposure is to use a faster shutter speed. The shutter in your camera plays a game of peek-a-boo with the light. When you press the shutter button, it opens up and exposes the sensor to the light. Naturally, the faster the shutter does this, the less time your sensor will be exposed to light; therefore, your photo will be darker. The next choice we have for bringing down the exposure of our image is ISO. The higher your ISO number, the brighter your images will be and the lower the number, the darker they will be. The 3rd setting we can change to bring down the brightness of our photo is the Aperture. The Aperture is the opening in the lens that lets light through to your camera’s sensor. If you have a small opening, less light gets in, and if you have a large opening, more light will get in. Now with aperture, the smaller the number you choose, the fewer things in your photo that will be in focus. This is called depth of field. So whether or not you decide to change your aperture to bring down your exposure will depend on the look you’re going for with your photo. You may want a nice, blurry background and therefore you won’t be able to choose a smaller aperture without sacrificing that. You have 3 different ways in which you can deal with overexposed photos now. The next time you take a shot and it’s too bright, remember to change one of those 3 things - shutter speed, aperture, or ISO.
Should I Replace My Lens Or My Camera Body? - I'll help ...
683 views · Sep 10, 2022 birdwatchworld.com
Should I Replace My Lens Or My Camera Body? - I'll help you decide. So should you buy a new lens or new camera body? Well, if image quality is the issue, I say replace your lens first. A good lens can make all the difference to even a lower quality camera body. But I hear you saying "what lens should I buy?" Nikon lens reviews from kenrockwell.com are spot-on when it comes to the correct information and I based the decision to purchase my new lens upon one of his reviews. But you will find reviews of many brands of cameras and lenses at Ken Rockwell's site, so I recommend it highly as a place to go before you decide on a purchase. Does the lens or camera body matter more? If the problem is limitations on what you can do with your camera body, then you should upgrade your camera body first. In the video I give a couple of examples of what limitations you might come across. Hopefully after watching this video you will know whether to buy a new lens or new camera. Whatever decision you make, be sure to check out all the information before you buy. Especially with lenses, you need to know they are compatible with your camera body. For Nikon lens compatability, visit https://www.kenrockwell.com/nikon/compatibility-lens.htm. You will find all the info you need on this page, it contains in-depth explanations of all types of Nikons Lenses, even those for mirrorless cameras. If you have a different brand of camera body, simply Google your camera model and "lens compatability"
How To Hold a Camera Steady Without a Tripod - Tripod Altern...
2K views · Sep 29, 2022 birdwatchworld.com
How To Hold a Camera Steady Without a Tripod - Tripod Alternatives. Check out all the photography gear I use on my Kit profile - https://kit.co/barrycallister In this video, I give you a few ideas on things that you can use as a tripod substitute. If you don't own a tripod, or you accidentally leave it at home, it can be hard to figure out what to use instead of a tripod but there are many, many things in your environment that you can use as alternatives for tripods. Trees, logs, rocks, picnic tables, posts...almost anything can be used as a camera stand if you have a little initiative. This video is part of my Photography tips and tricks for beginners series, where I give beginning photographers some hints and tips on how to take better photos.