Bird photographers across the world rave about using Auto ISO in manual mode for bird photography. What is so special about it? And why would you want to use it for bird photography? I will answer those questions and more in this article as I have used it in the past and discovered some important issues you need to know.
Auto ISO for bird photography is where the camera is set to Manual Mode but Auto ISO is selected. The photographer is able to choose the aperture and shutter speed they like and the camera automatically selects the ISO, achieving the correct exposure every time. However, it does have drawbacks.
Keep reading to learn more about Auto ISO in manual mode. You will discover how you can use it with your camera so that you can try it out for yourself. I will also explain the problem I had when I used it on my Nikon D5200 that caused me to never use it again.
Why Is Auto ISO For Bird Photography So Great?
The reason so many bird photographers and wildlife photographers rave about Auto ISO in manual mode is because it’s like using a semi-auto mode except you get more control.
When shooting bird photography in manual mode, sometimes it can be easy to over or underexpose your photos. You set your aperture and shutter speed where you want them to be and then set your ISO. If the bird you’re photographing moves to a different place, the scenery around it changes, and therefore so does your exposure. The lighting can also change if the sun goes behind a cloud for example.
Having auto ISO enabled is like having a safety net for your exposure. The camera will choose the ISO required to correctly expose the image no matter where the bird goes or how the lighting changes.
What it essentially does is turn manual mode into a semi-auto mode, which is fantastic. But hold on, if a semi-auto mode is what you’re looking for, why not just choose either aperture or shutter priority instead?
Discover the key gear and settings for bird photography in this article here on the site.
Why Not Use Aperture Or Shutter Priority Mode Instead?
The problem with using either aperture or shutter priority mode is the camera has too much control in these modes.
If you are shooting birds in flight, for example, you might choose shutter priority mode. In this mode, you choose the shutter speed you want, and the camera chooses the aperture and adjusts the ISO. This causes two problems:
- The camera may choose the wrong aperture for the situation.
- The camera may choose a really high ISO that produces too much noise in your image.
Similar problems can occur if you use aperture priority mode. The camera might choose a shutter speed that just doesn’t freeze the action or an ISO that is far too high.
You can get good results using either of these modes however, auto ISO in manual mode gives you more control and you will find you get more shots you are happy with. It’s a great choice for control freaks like me. It does have drawbacks, which I’ll present later in the article.
Let’s look at how to set up auto ISO in manual mode in various cameras.
Learn 9 bird photography camera settings mistakes beginners make here in this post.
How To Set Up Auto ISO For Bird Photography (Nikon)
Watch the video below to learn how to set up auto ISO in manual mode on the Nikon D5200. The process will be similar on other Nikon DSLR cameras.
If you find that your Nikon model is different, consult your camera’s manual or perform a quick Google search for “how to set up auto iso in manual mode” and insert your camera model at the end.
Do not worry about setting the Minimum Shutter Speed in the ISO Sensitivity Settings menu. This is only important when using P (Programmed Auto) or A (Aperture Priority) modes. It sets up the camera to only adjust other settings if your image would be underexposed at the shutter speed you select here. This does not apply in S (Shutter Priority) or M (Manual) modes.
Learn the bird photography settings for Nikon DSLR cameras here in this article.
How To Set Up Auto ISO For Bird Photography (Sony)
The video below will show you how to enable auto ISO in manual mode on a sony camera. In the video, I use an a6400 but the process will be the same or similar on other Sony models.
Do not worry about not being able to change the ISO AUTO Min. SS. This is grayed out because it only applies to P (Program Auto) or A (Aperture Priority) modes. It sets the shutter speed at which the ISO sensitivity will start changing when shooting with auto ISO in these modes.
Find the best Sony camera and lens for bird photography on a budget in this article.
The Problem With Auto ISO For Bird Photography
The following information is, as far as I can tell, relevant to only some camera models. I only tested this on my Nikon D5200 which is an older DSLR and does not have the processing power of newer DSLRs or mirrorless cameras.
I was originally ecstatic about auto ISO in manual mode. When I first started to use it, I was happily shooting away, not caring about where the birds I was photographing moved to. Bright or dark backgrounds didn’t phase me, I was getting good exposure no matter what.
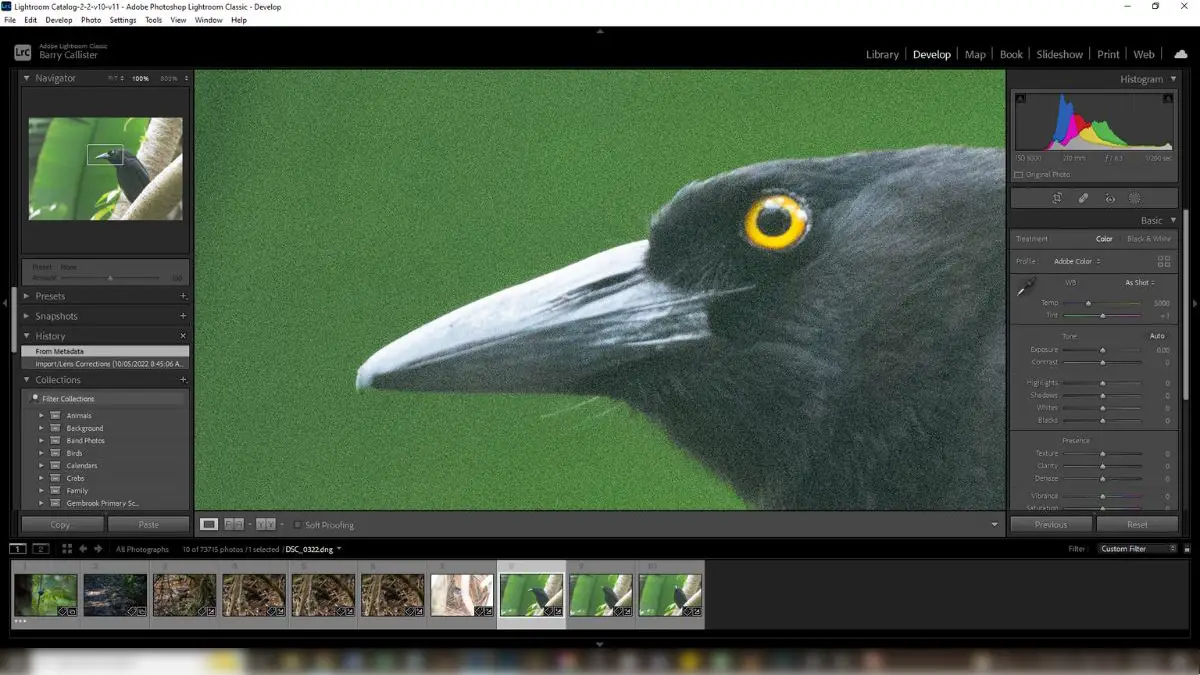
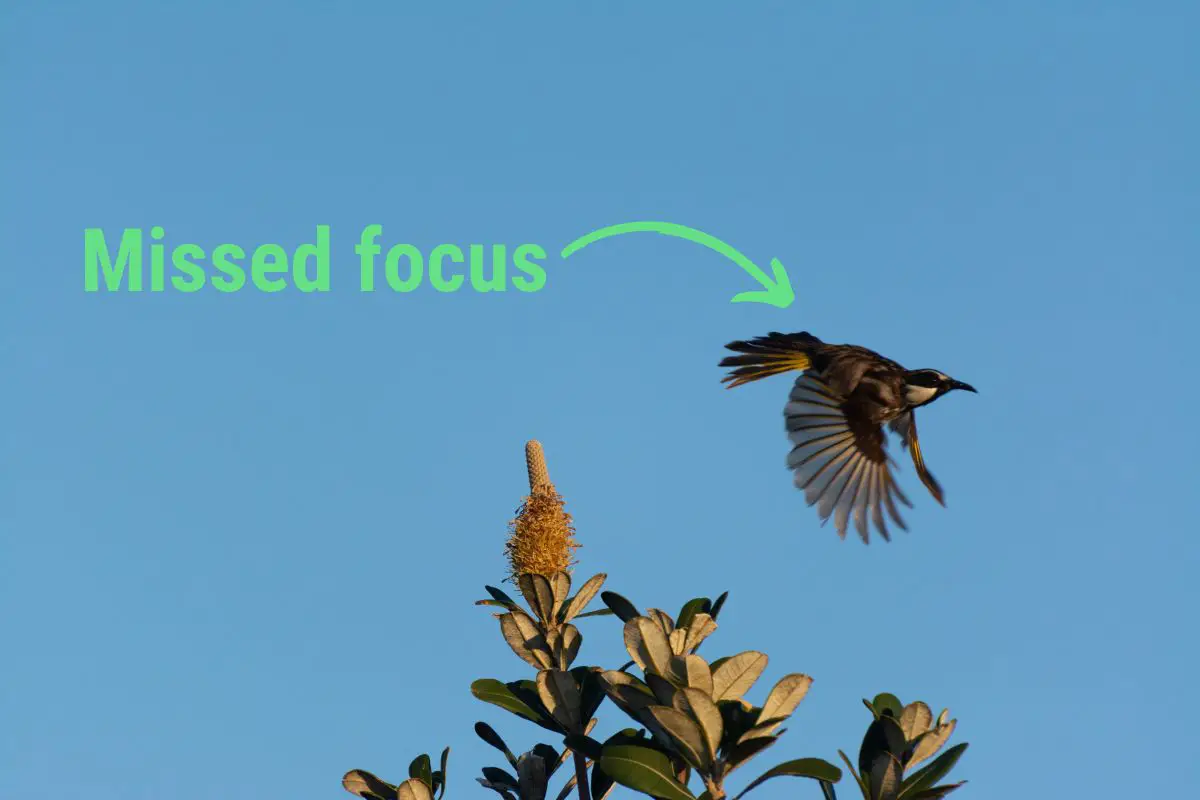
After using it for a few days, however, I noticed that many of my shots were out of focus. I also began to find that the autofocus in my Nikon D5200 was lagging and having trouble latching onto flying birds. I started to think there might be something wrong with my camera or my lens.
It then dawned on me that auto ISO might be the issue. As I mentioned, the D5200 is an older model, released in 2012. Technology has come a long way since then. I figured the camera must be having trouble calculating the ISO and autofocusing at the same time. As soon as I turned off auto ISO; the camera went back to autofocusing efficiently.
If you want more information about this, watch the video below:
When I released the above video on my YouTube channel, some of my viewers reported having no issues at all with auto iso in manual mode. They were using newer cameras though, which is what led me to believe that this may only be an issue with older DSLR cameras.
The only way you are going to find out is by enabling it and trying it out for yourself.
Tips For Using Auto ISO In Manual Mode
To ensure you get the best results from auto ISO, make sure you follow these tips:
1. Set A Minimum ISO Value In Your Camera Menu
If your camera will allow you to, set a minimum ISO value. You can set this to the lowest value the camera will allow though the camera may not ever use that value.
2. Set A Maximum ISO Value In Your Camera Menu
Do not forget to do this, otherwise, you will end up with a lot of very noisy images. You must set this to avoid the camera choosing really high ISO values. Set this value to an ISO you are comfortable going up to.
3. Use A Wide Aperture
By choosing the widest aperture you can, you ensure that the camera will not have to use higher ISO values. This will mean less noise in your images and sharper photos too as you’ll be able to use faster shutter speeds.
Of course, it depends on the situation; using a wide aperture may not give you the desired depth of field. For example, if you have a number of birds in a row and you want them all in focus, you’ll need to close down your aperture to get a deeper depth of field.

4. Notice How Your Camera Is Focusing
Keep an eye on how efficiently your camera is focusing while you have auto ISO enabled. If you notice any lag in the autofocus, it could be due to auto ISO. This will be especially important to look out for if you are using an older DSLR camera.
Conclusion
Auto ISO in manual mode can be great for bird photography. It means you will have one less camera setting to worry about. It also puts you at ease knowing that your exposure will be correct almost every time.
Give it a try with your camera and see what you think about it.
References
- Nikon D5200 Manual – Nikon Download Center
- Sony a6400 Help Guide (Manual) – Sony Support